Difficulty: Easy
Today, we’re about to embark on a delightful journey to fold an origami tulip. This elegant paper flower is a symbol of grace and simplicity, making it a perfect addition to your paper crafting repertoire.
Origami, the art of paper folding, combines precision and creativity to transform plain paper into intricate shapes and designs. Crafting an origami tulip is a rewarding experience that allows you to bring a touch of nature’s beauty into your home, without the need for soil or water.
In this step-by-step guide, we’ll walk you through the process of creating your very own origami tulip, from selecting the ideal paper to mastering the folds that bring this flower to life. Whether you’re a seasoned origami artist or a complete beginner, our instructions are designed to be clear and accessible to all skill levels.
So, grab a square sheet of paper, find a comfortable workspace, and let’s embark on this creative adventure together. By the end, you’ll have a stunning origami tulip that can serve as a charming decoration, a heartfelt gift, or a symbol of your crafty prowess. Let’s fold our way to a beautiful paper bloom!
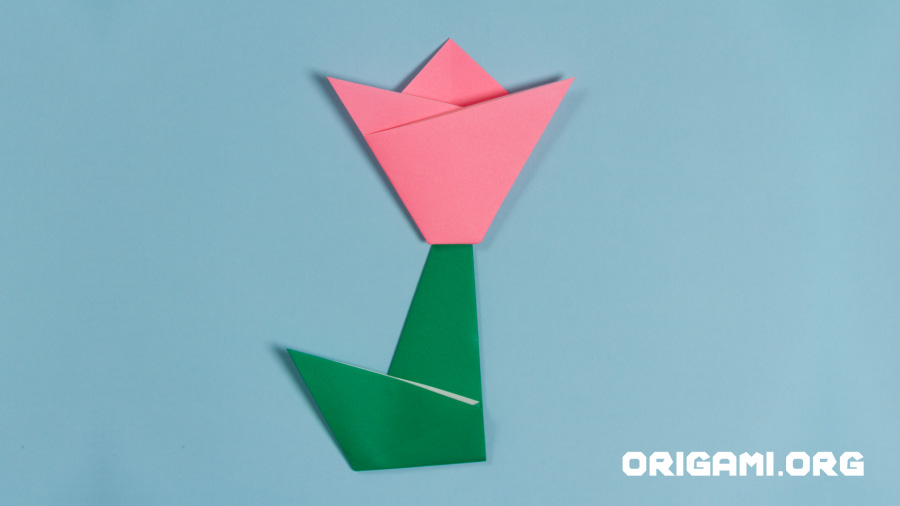
Make our super easy but very beautiful origami tulip!
You’ll need two different coloured squares of origami paper – one for the tulip head and one for the stem and leaf.
Why not make a few tulips in different colours to make up a bouquet?

Step 1: We’ll start making the tulip head first!
We’ve used single sided paper with colour on one side, but you can use duo paper if you prefer.
Start with the origami paper positioned like a diamond.

Step 2: Fold the bottom point up to meet the top

Step 3: Fold the left point over to meet the right

Step 4: Open up the paper so it looks like this

Step 5: Fold the right point diagonally up towards the top left and press down

Step 6: Repeat step 5 by folding the left point diagonally up towards the top right and press down

Step 7: Fold the bottom point underneath and press down
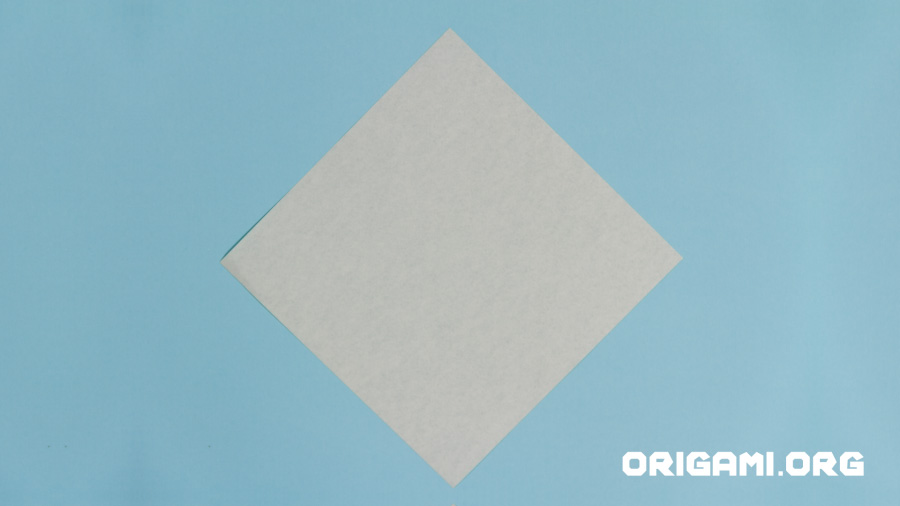
Step 8: Let’s move onto the stem and leaf now!
Start with the paper positioned like a diamond.

Step 9: Fold the left side over to meet the right
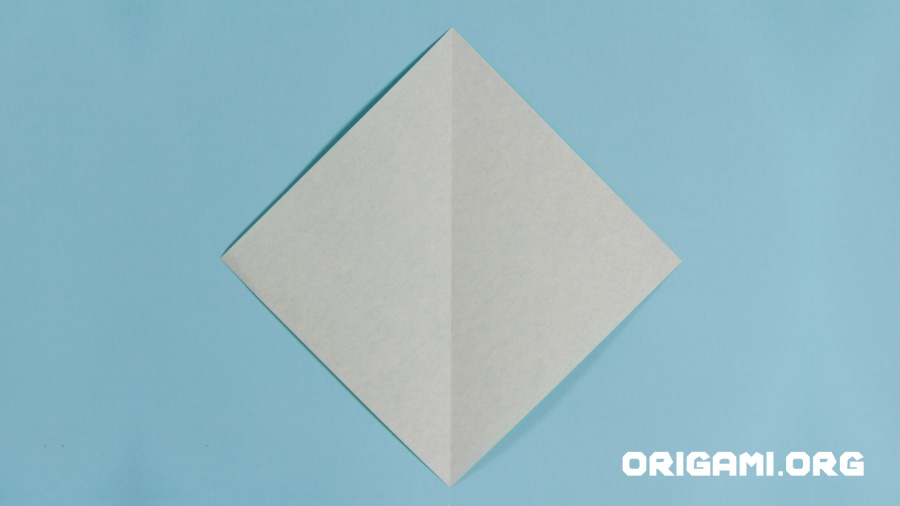
Step 10: Open up the paper
