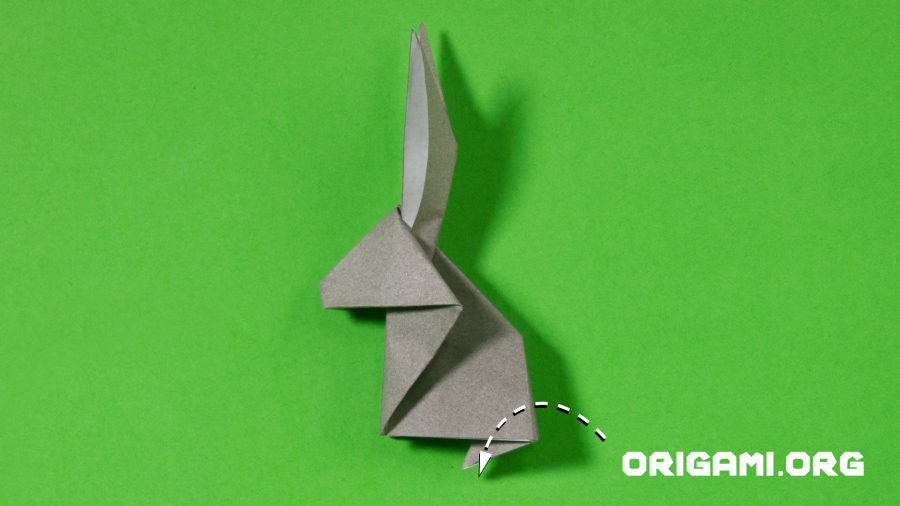
Step 21: Fold the rabbit’s tail in on itself as shown
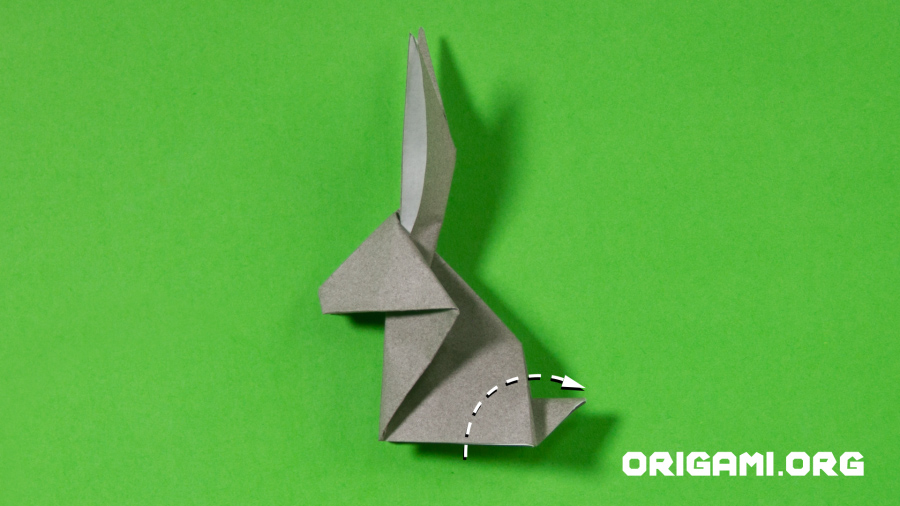
Step 22: Fold the inside tip of the tail outwards and upwards
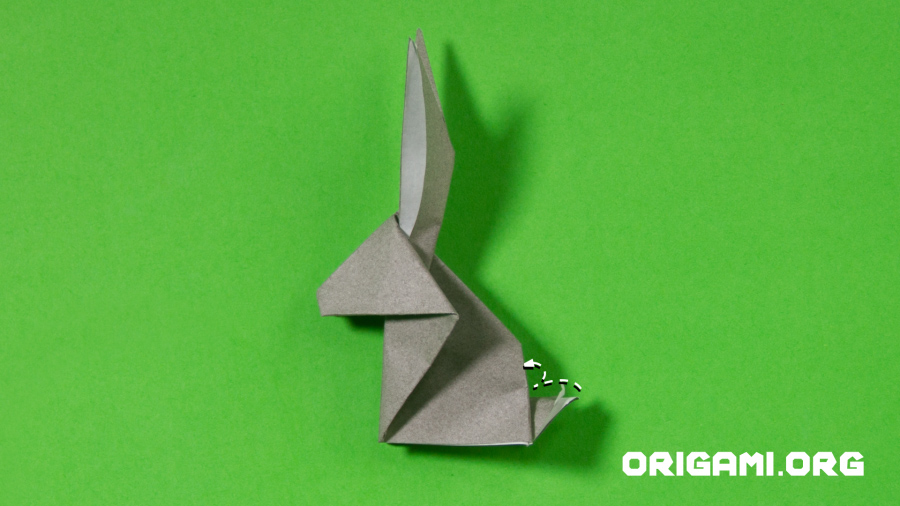
Step 23: Seperate the two layers of the tail so the inner colour of the paper can be seen, reverse infolding the top layer and folding the bottom layer upwards to create the rabbit’s tail
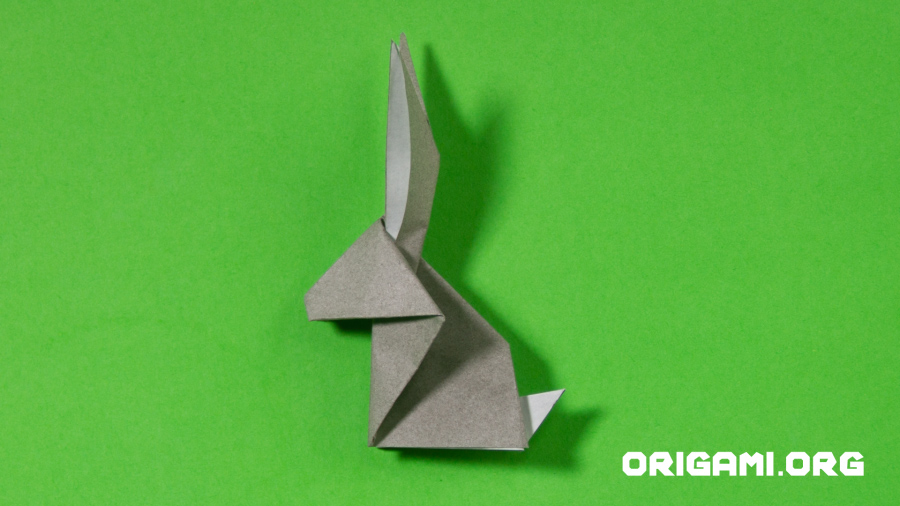
Step 24: Gently bend and shape the body to make the rabbit stand
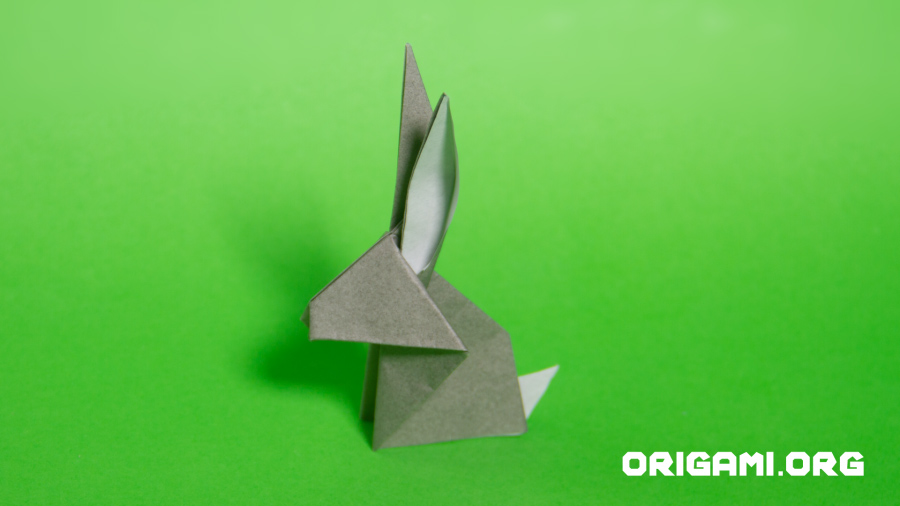
And your little bunny is now complete! Now you know how, why not make a colony of colourful rabbits?
