Difficulty: Medium
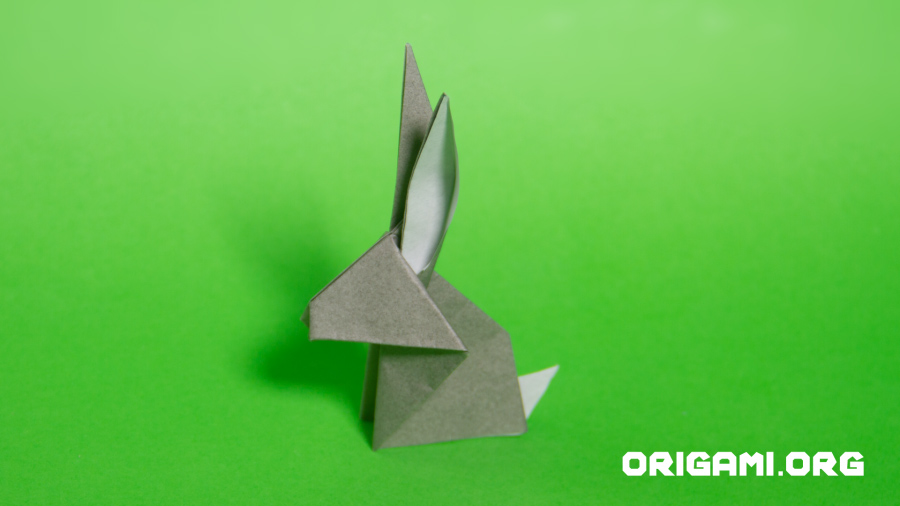
Hop little bunny, hop, hop, hop!
How adorable is this little origami rabbit? Follow our easy steps to make your very own bunny rabbit.
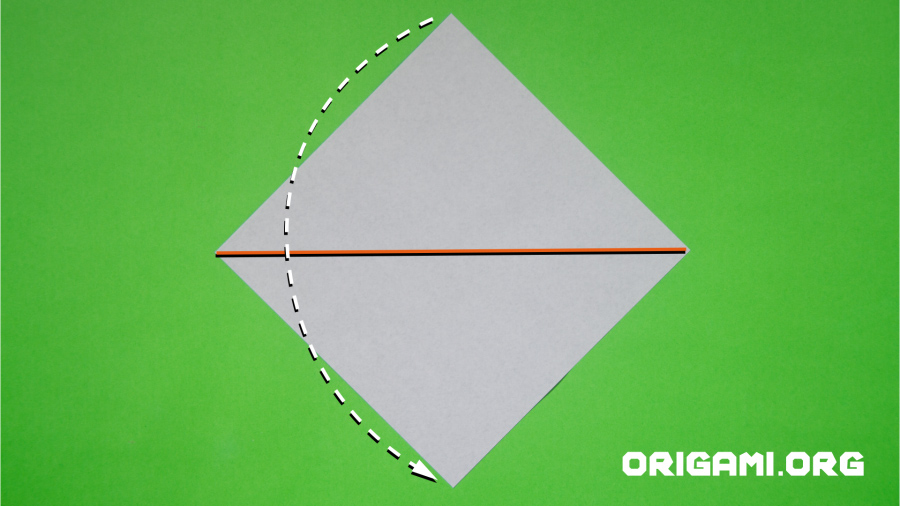
Step 1: Place your square piece of origami paper down in a diamond shape, folding the top point down to meet the bottom point, creasing where indicated in orange.
We have used a single sided piece of origami paper. By placing the paper down white-side up, this will result in the rabbit’s inner ears and tail being a contrasting colour to the rest of the rabbit.
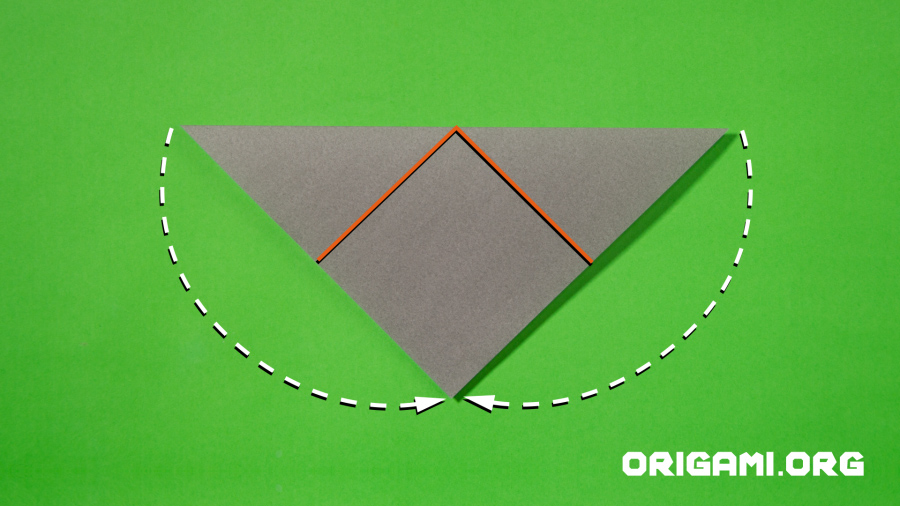
Step 2: Fold the left and right corners inwards to meet at the bottom point, creasing where shown in orange
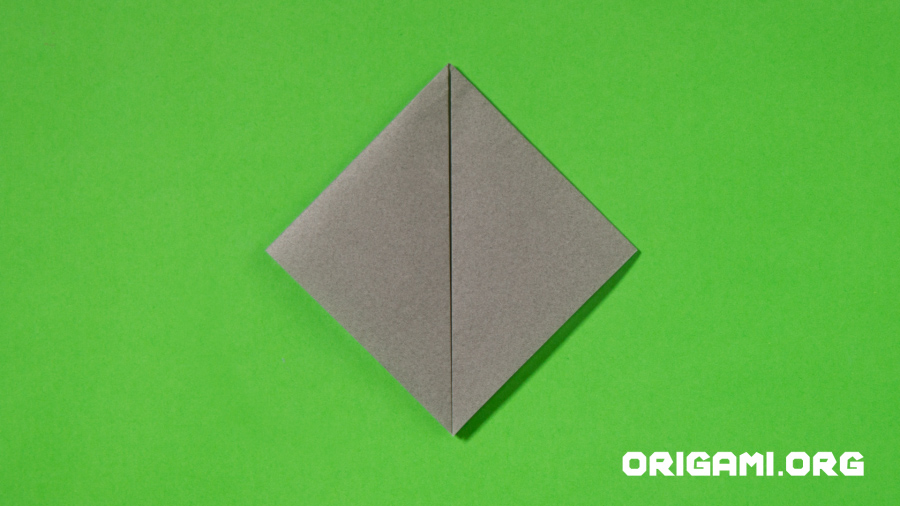
Step 3: Your paper should now look like this. Make sure the open end of the paper is pointing downwards
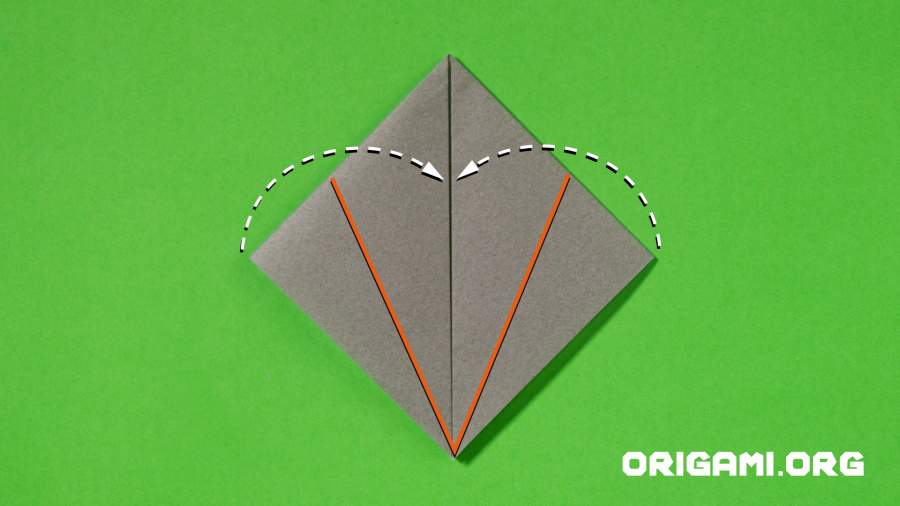
Step 4: Fold the left and right points inwards to meet at the centre, creasing where indicated in orange
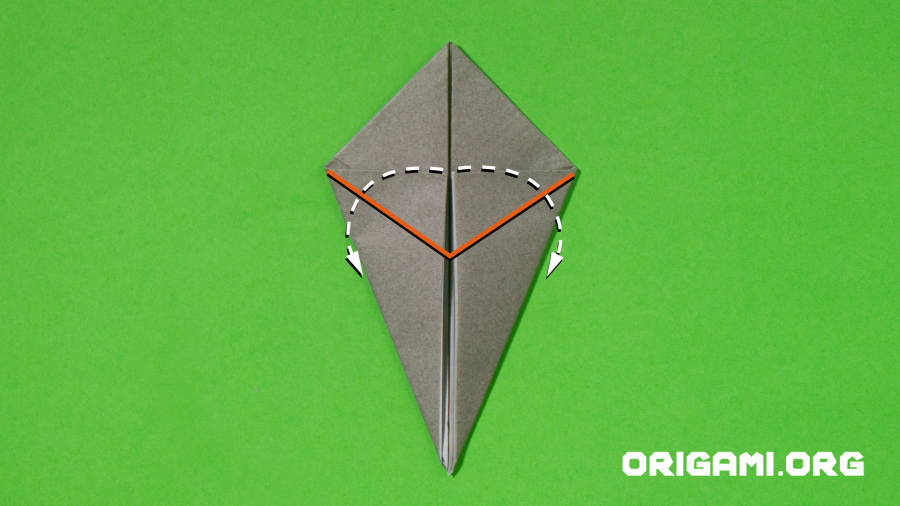
Step 5: Fold the inner left and right points outwards so they line up with the outer edges, creasing where indicated in orange
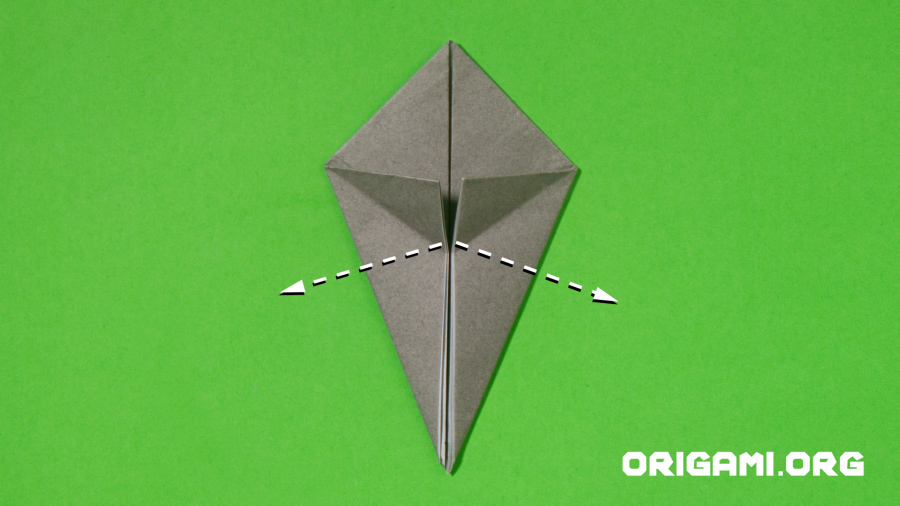
Step 6: Fold the inner ‘wings’ outwards, opening them up
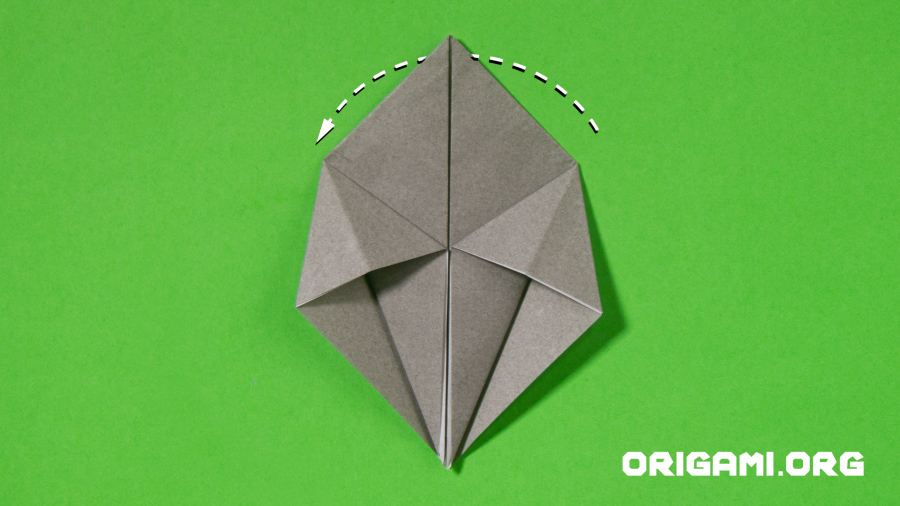
Step 7: Once pressed down, your paper should now look like this.
Fold creation in half by folding the right half of the paper underneath the left
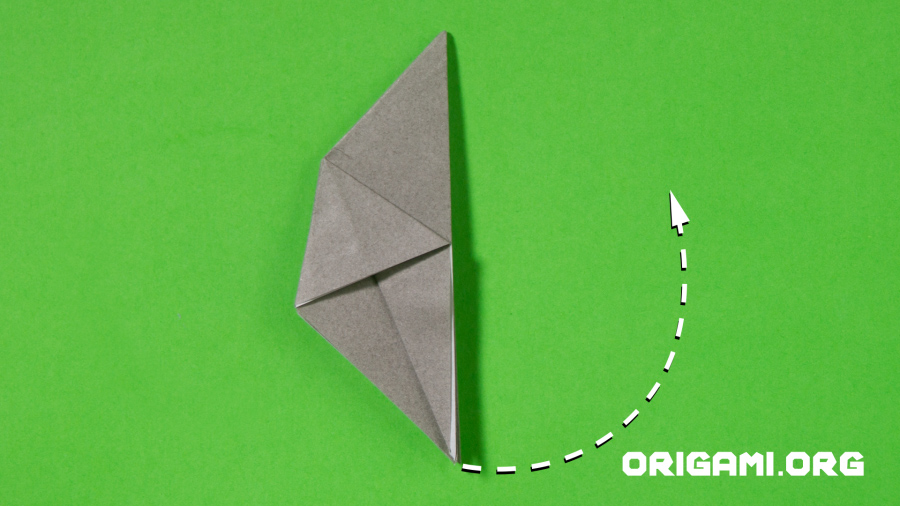
Step 8: Lift the lower right point upwards
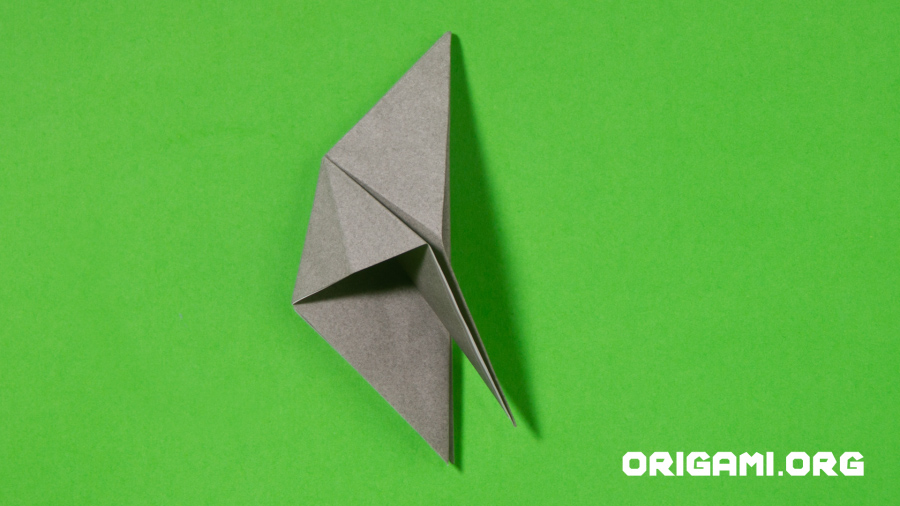
Step 9: As you lift the point, pinch the top of it to create the new fold line show on the top triangle
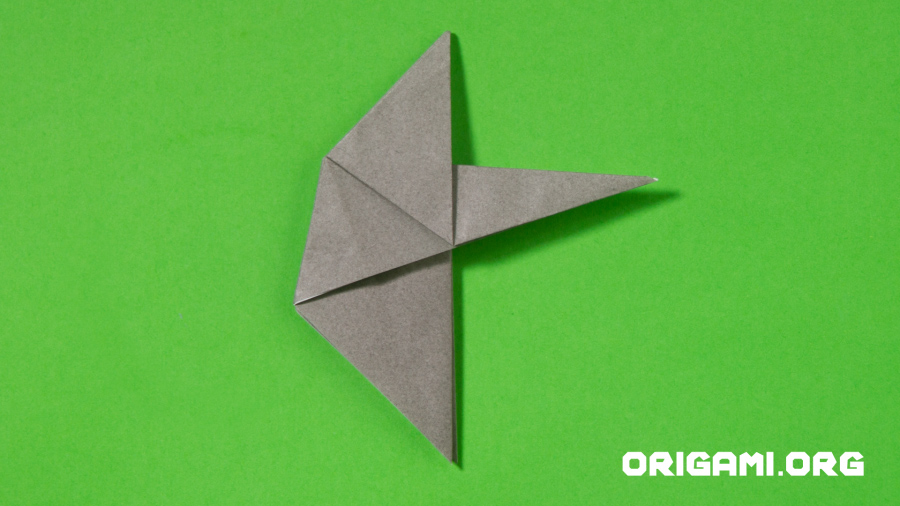
Step 10: Fold the point underneath so it lies horizontally as shown – this is the first rabbit ear!
