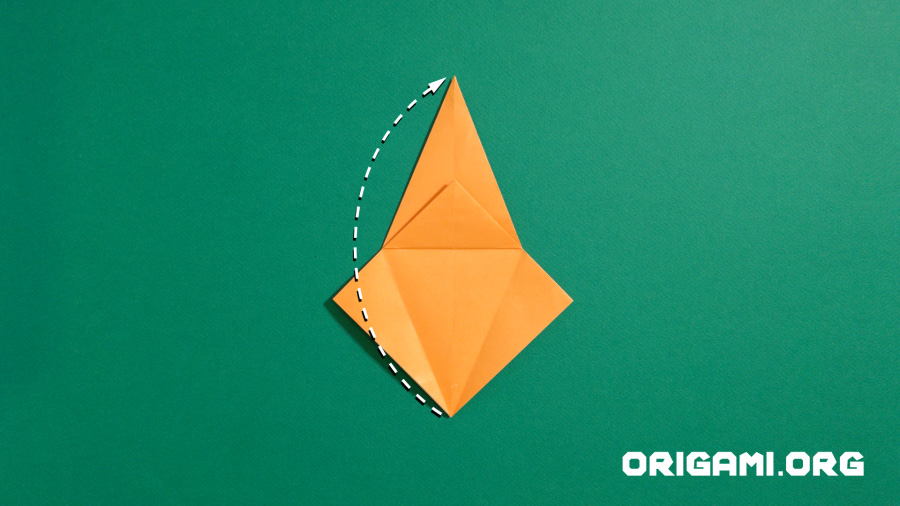
Step 31: Lift the top layer of paper at the bottom point upwards to meet the top point

Step 32: The paper should unfold as you raise the point upwards

Step 33: Press the fold down so your creation looks like this

Step 34: Fold the top layer of paper down to meet the bottom point
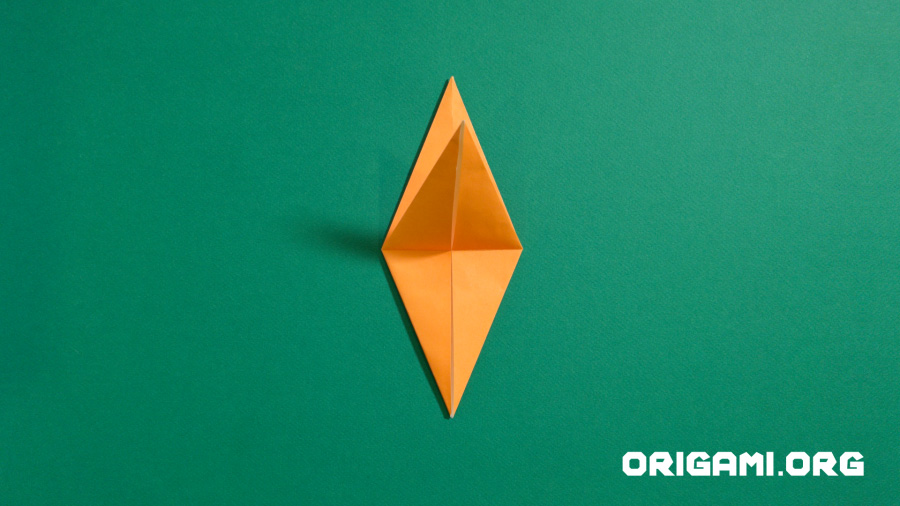
Step 35: Keep folding!
Step 36: When pressed down your creation should look like this

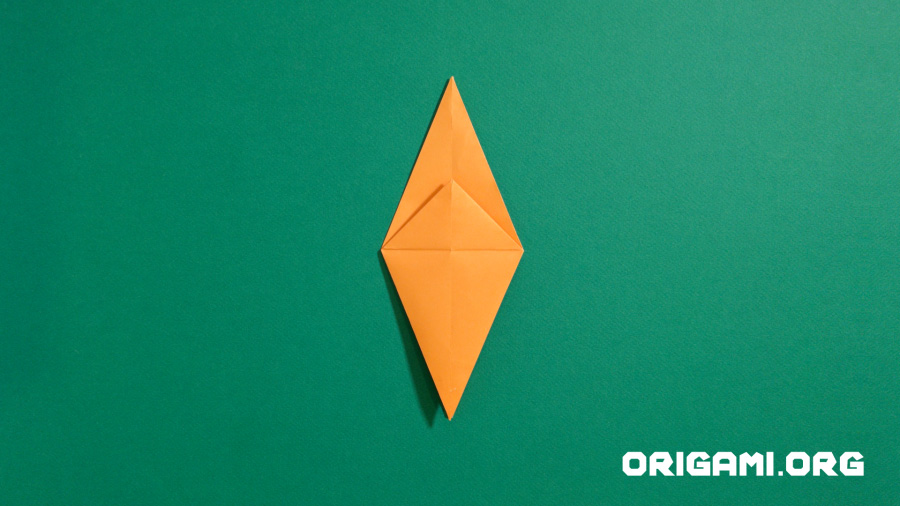
Step 37: Turn the paper over
Step 38: Fold the top point down to meet the bottom point

Step 39: When pressed down your paper should look like this

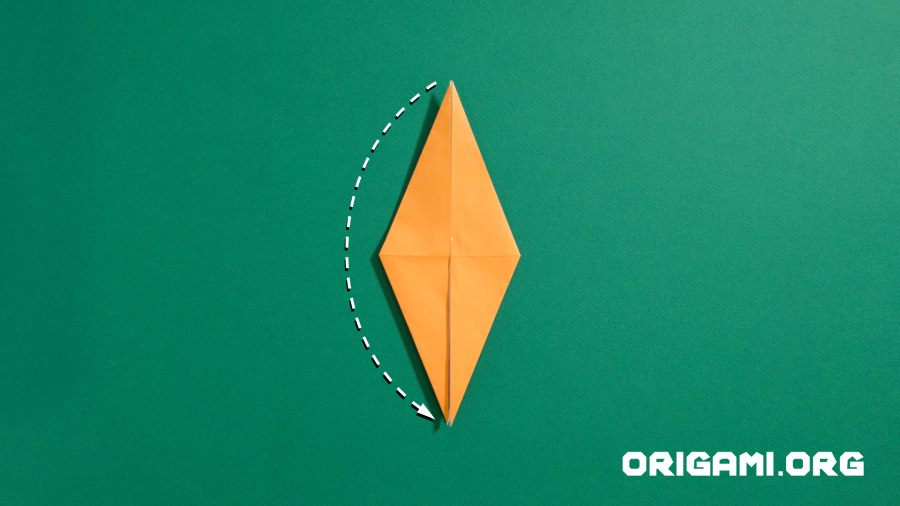
Step 40: Fold top layer of paper’s outer ‘wings’ inwards to meet the centre fold line, creating the green crease lines