Difficulty: Medium
Today, we’re about to embark on an exciting journey to create an origami owl. These wise and mysterious birds are not only symbols of wisdom but also a fun and creative origami project.
Origami, the traditional Japanese art of paper folding, invites you to merge precision and imagination to shape intricate forms from a single sheet of paper. Crafting an origami owl is a rewarding endeavor that allows you to explore the art’s intricacies and capture the essence of these nocturnal hunters.
In this comprehensive guide, we’ll lead you step by step through the process of crafting your very own origami owl. From selecting the right paper to mastering the folds and creating lifelike details, we’ve got you covered. Whether you’re an origami aficionado or just starting out, our instructions are designed to be clear and accessible to all skill levels.
So, gather a square sheet of paper, clear a workspace, and let’s embark on this creative adventure together. By the end, you’ll have a charming origami owl to adorn your space or share as a thoughtful gift. Let’s spread our wings and dive into the world of paper-folding as we bring this majestic creature to life!
This origami owl is of medium difficulty. Watch the video first to get an idea of the steps involved.
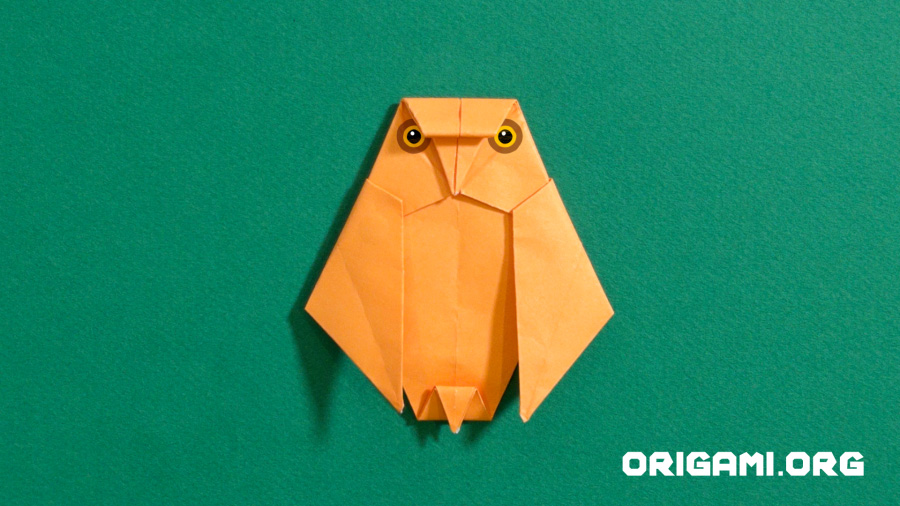
Create your very own origami owl! What will you name them?
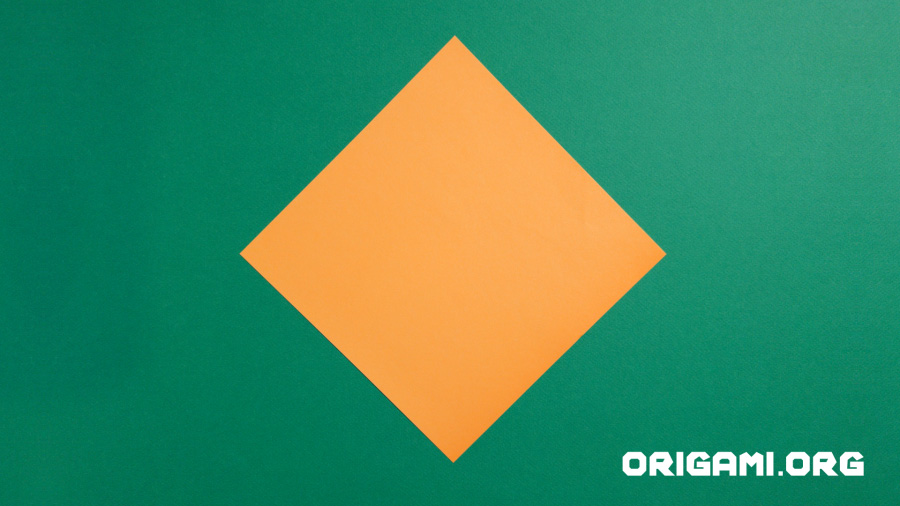
Step 1: Begin with a square piece of origami paper – in any colour you want your owl to be! Place it down as shown.

Step 2: Fold the paper in half taking the top down to the bottom

Step 3: Open up the paper

Step 4: Fold the paper in half taking the right side over to the left
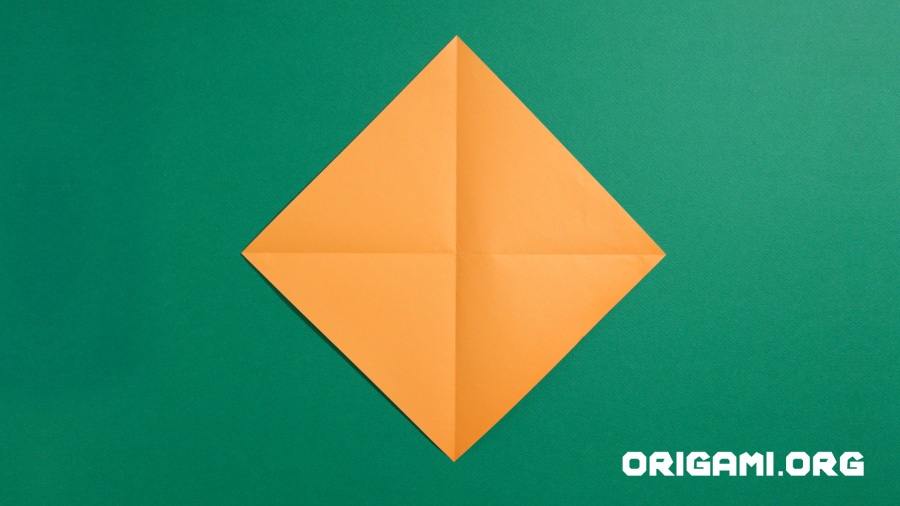
Step 5: Open up the paper
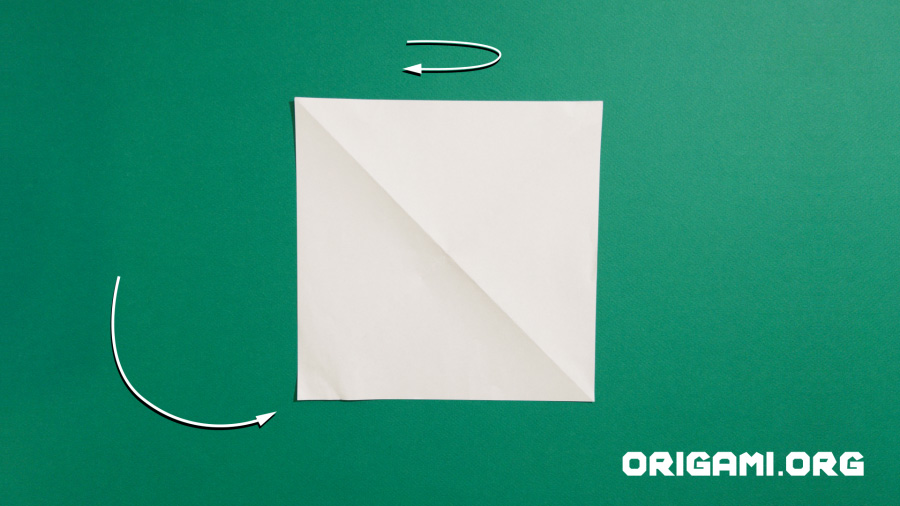
Step 6: Turn the paper over and twist it 90 degrees to the left so it now looks like this

Step 7: Fold the paper in half horizontally
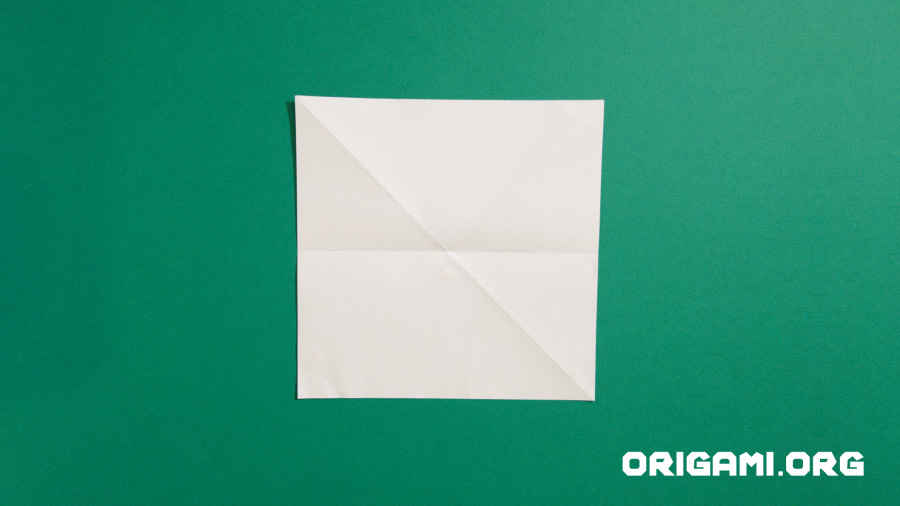
Step 8: Unfold the paper
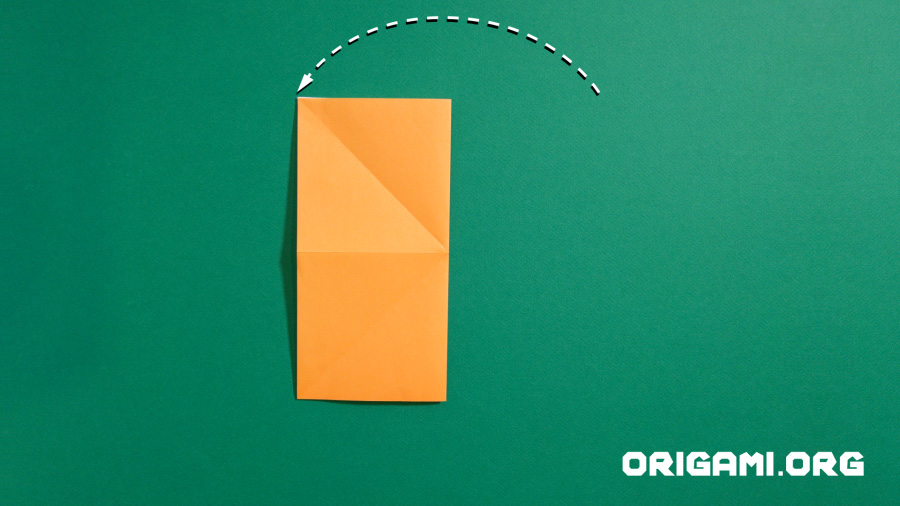
Step 9: Fold the paper in half vertically
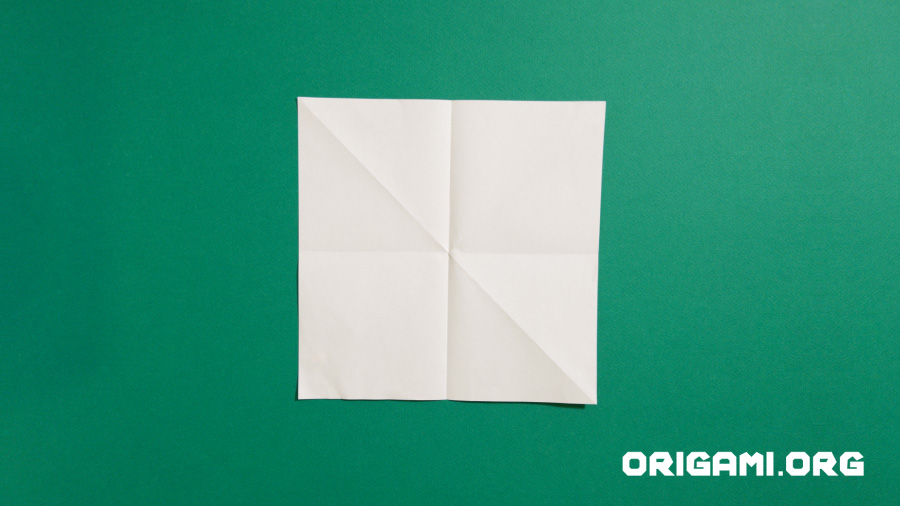
Step 10: Unfold the paper
