Difficulty: Easy
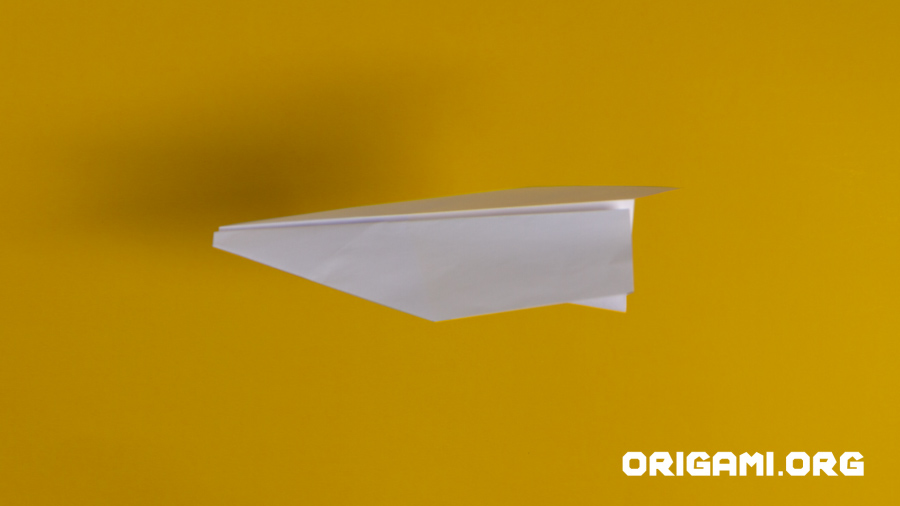
Fancy adding a new origami plane to your fleet? Follow our really simple, step by step instructions to create an origami Nakamura Lock plane. This plane was named after Japanese origami paper plane artist and creator, Eiji Nakamura.
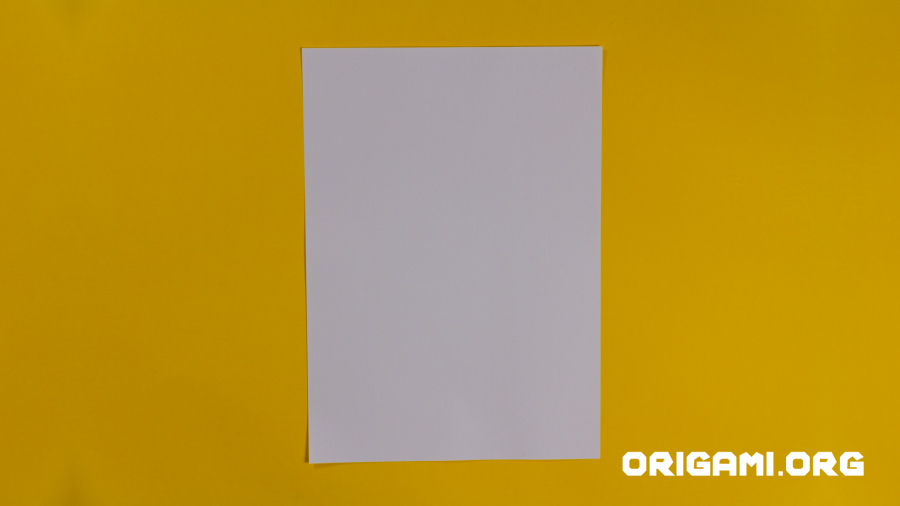
Step 1: Start with a rectangular piece of A4 paper in whatever colour you’d like your plane to be
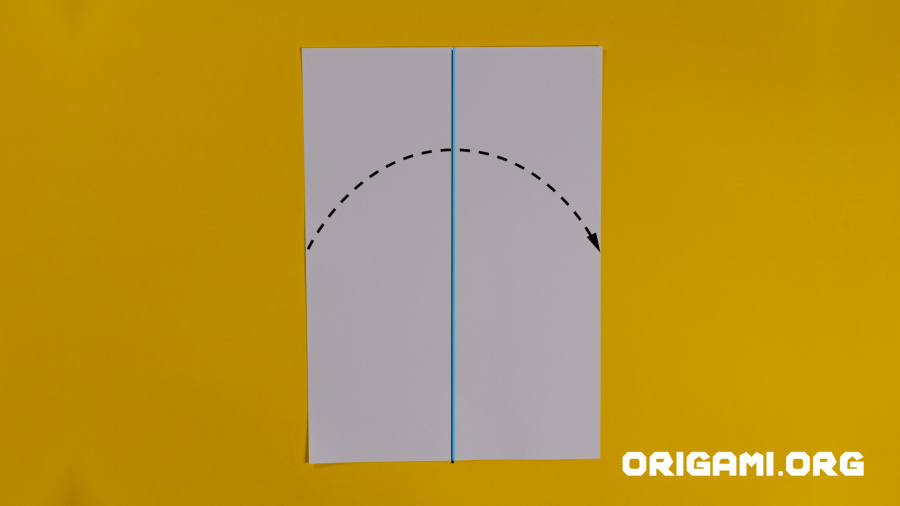
Step 2: Fold the paper in half vertically
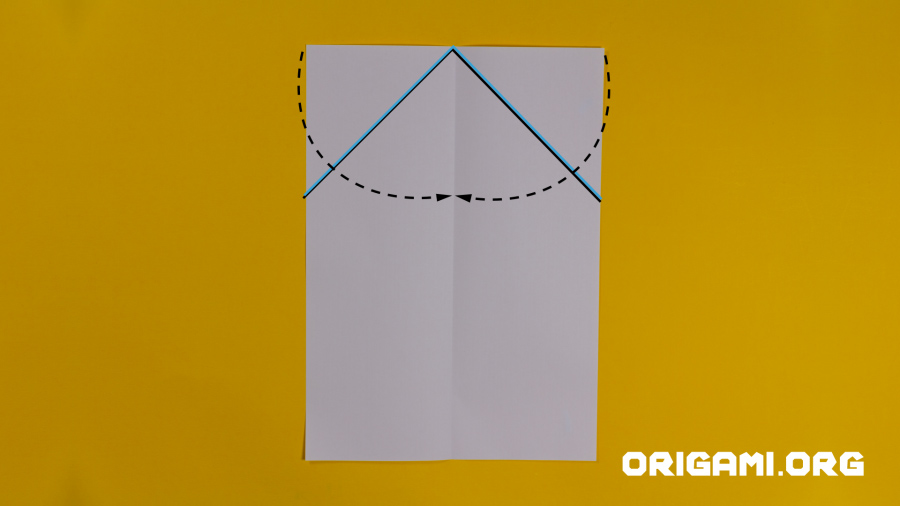
Step 3: Open up the paper and fold the top corners in to meet the centre vertical crease line.

Step 4: Your paper should now look like this
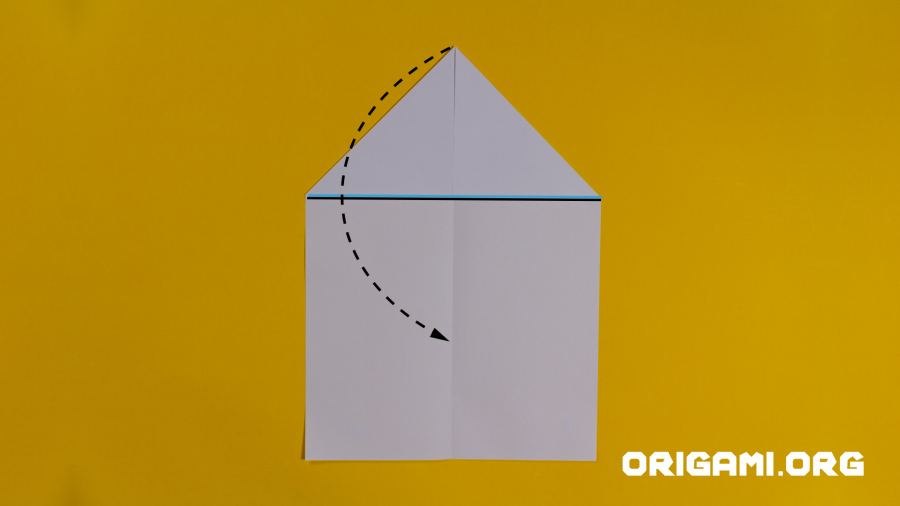
Step 5: Fold the tip of the paper down, creating the crease line indicated in blue
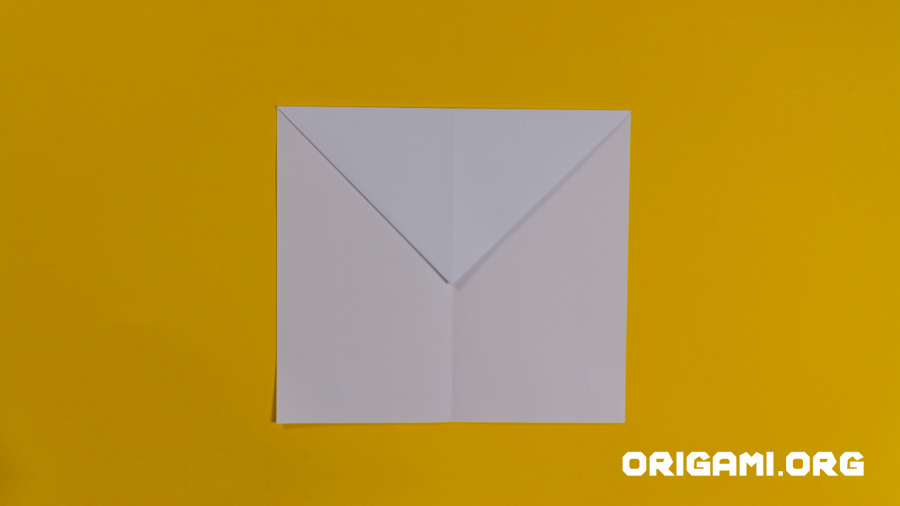
Step 6: Your paper should now look like this
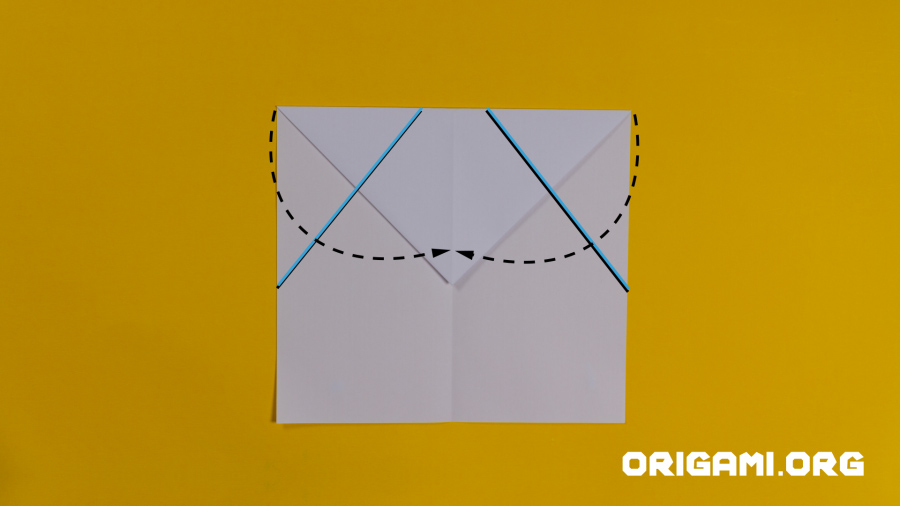
Step 7: Fold the top corners inwards so their tips meet the vertical centre fold line. Crease along the lines indicated in blue.
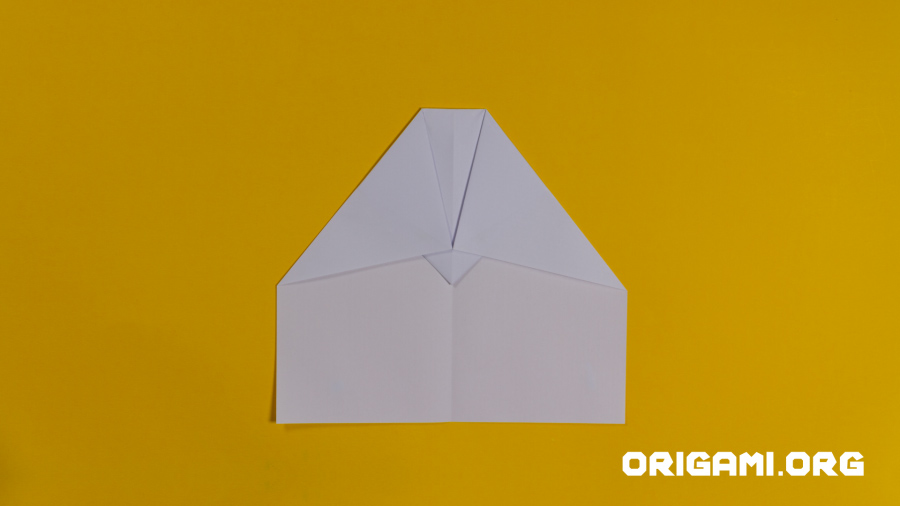
Step 8: Your paper should now look like this
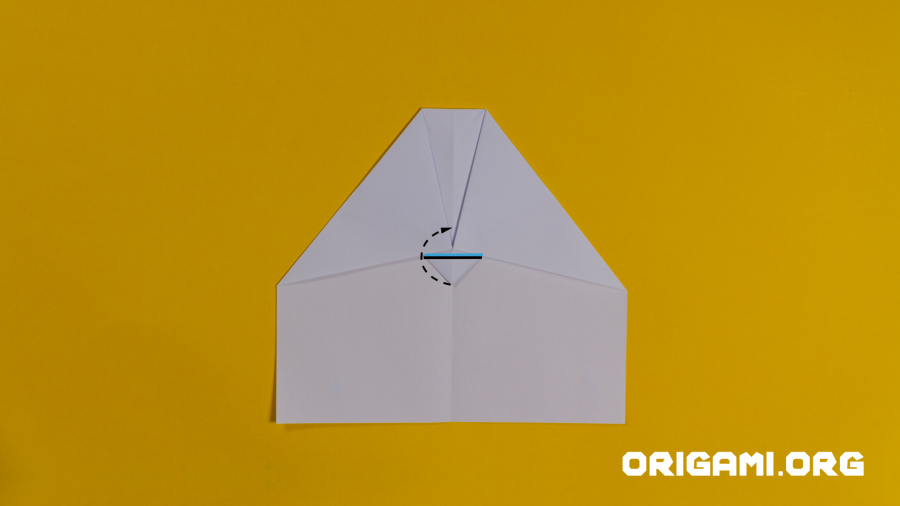
Step 9: Fold the inner tip upwards and crease where shown in blue
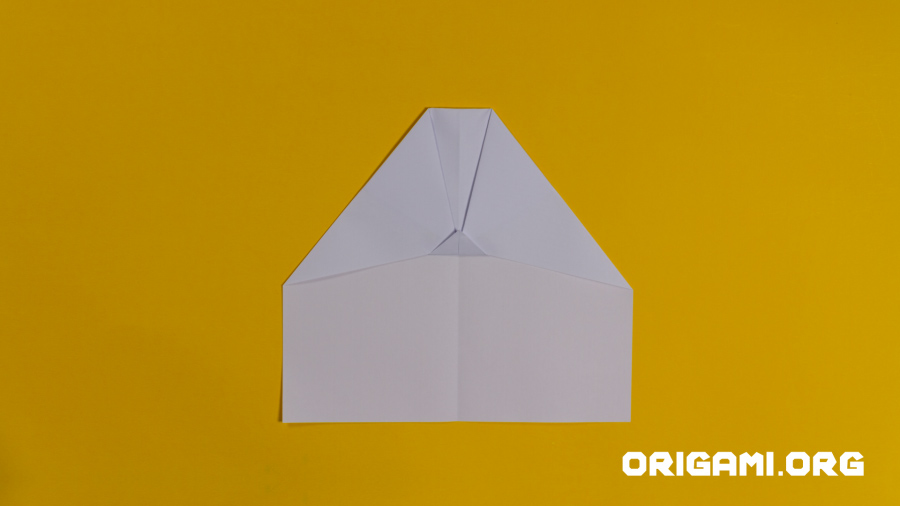
Step 10: Your paper should now look like this
