Difficulty: Easy
Welcome to the enchanting world of origami, where a single sheet of paper can be transformed into a symbol of love and affection—the origami heart. Origami, the Japanese art of paper folding, allows you to create intricate and beautiful designs with nothing more than paper and your own hands. In this set of instructions, we will guide you through the delightful process of crafting your very own origami heart.
Hearts have long been a universal symbol of love, making the origami heart a meaningful and heartfelt gift for friends, family, or that special someone in your life. Whether you’re a novice or an experienced origamist, this step-by-step guide will help you create a charming heart that can convey your emotions in a unique and personalized way.
As you embark on this creative journey, you’ll discover the joy of folding paper into a meaningful and expressive form. Origami is not only a delightful craft but also a soothing and meditative practice that allows you to focus your mind and create something beautiful from simplicity.
So, grab a square sheet of paper and let’s dive into the art of folding as we create a symbol of love and connection—an origami heart. Whether you’re making it for Valentine’s Day, an anniversary, or just to brighten someone’s day, your origami heart will carry your sentiments in its elegant folds.

What could be a lovelier gift than a handmade origami heart to give to your nearest and dearest?
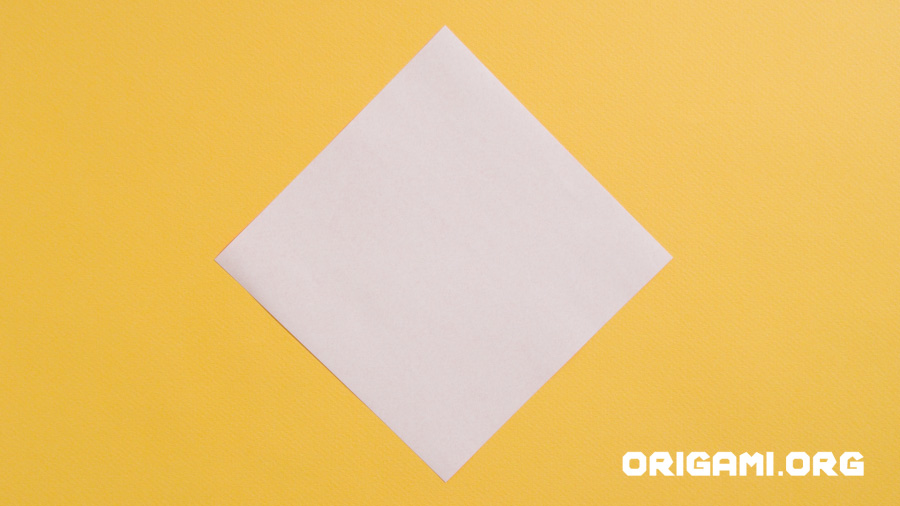
Step 1: Start with a square piece of origami paper in whatever colour you prefer. Set it down in a diamond position.

Step 2: Fold the bottom point up to meet the top point, creasing along the horizontal fold line

Step 3: Unfold the paper

Step 4: Fold the left point over to meet the right point, creasing along the vertical fold line

Step 5: Unfold the paper

Step 6: Fold the top point down until the tip meets the centre crease marks

Step 7: Fold the bottom point up until the tip meets the top of the paper

Step 8: Fold the left side in to meet the centre vertical crease line

Step 9: When pressed down your paper should look like this

Step 10: Repeat step 9 on the right side
