
Step 21: When the top is pressed down your plane should look like this
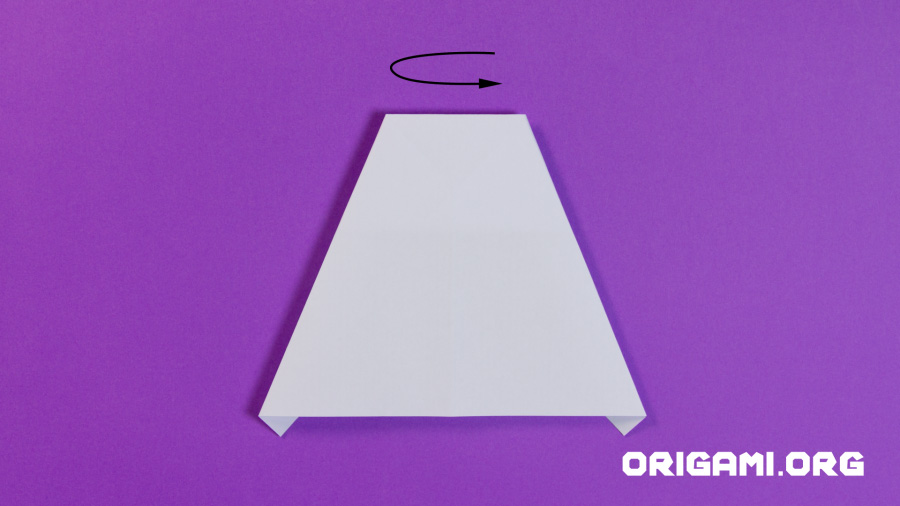
Step 22: Turn your plane over
Step 23: Fold the plane in half, bringing the left side over to meet the right side. Press down firmly.

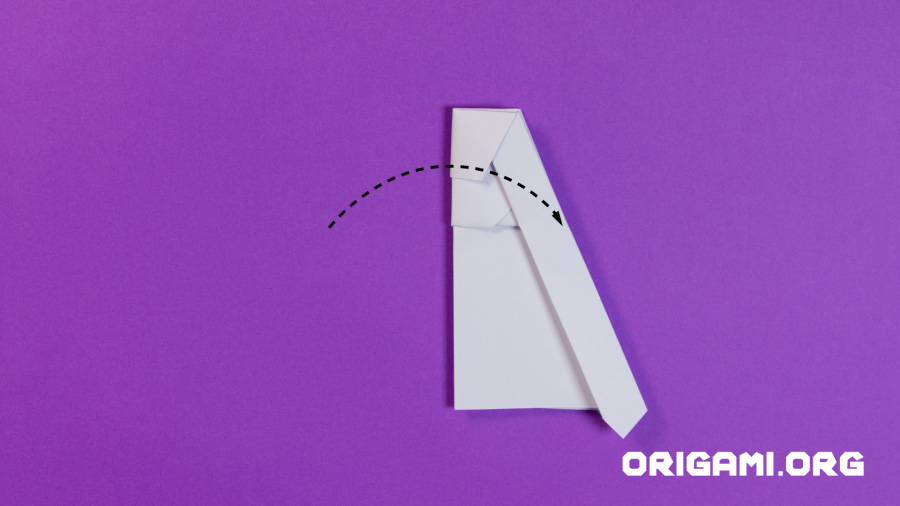
Step 24: Fold the top ‘wing’ up and to the left, folding in half
Step 25: Turn the plane over
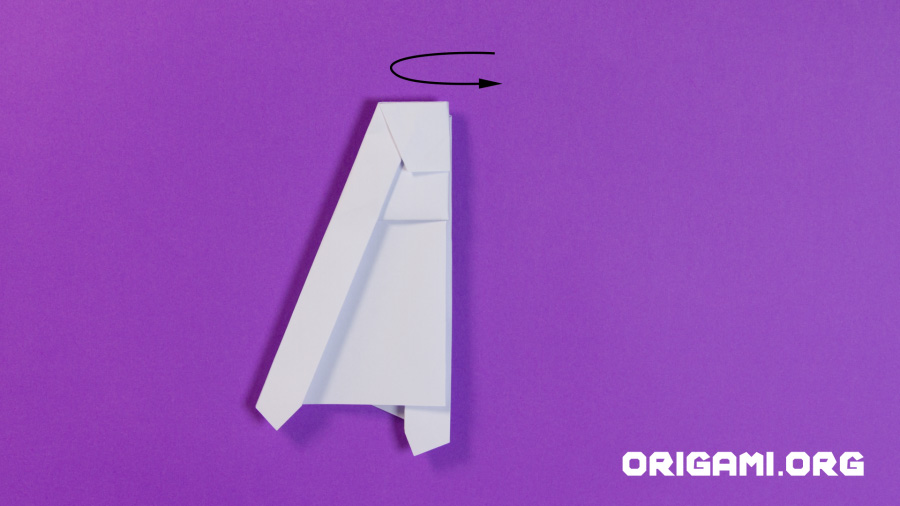
Step 26: Repeat step 24 by folding the top ‘wing’ up and to the right, folding in half. Press down firmly

Step 27: Slightly unfold your hammer plane – the underneath should look like this
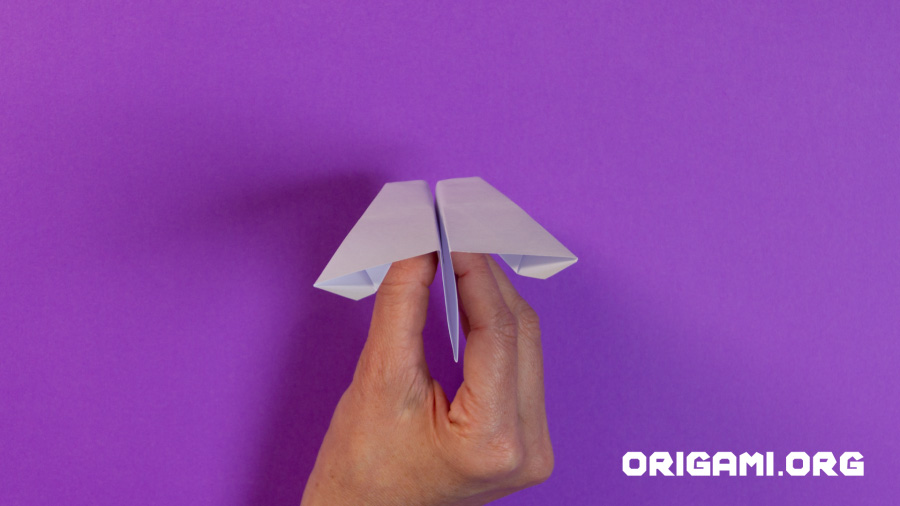
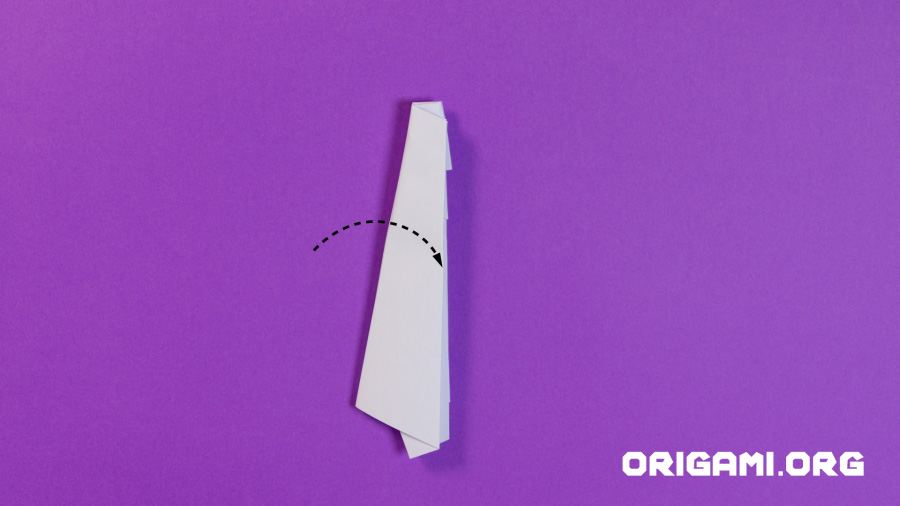
Step 28: Turn your plane over and hold the centre section between your thumb and fingers
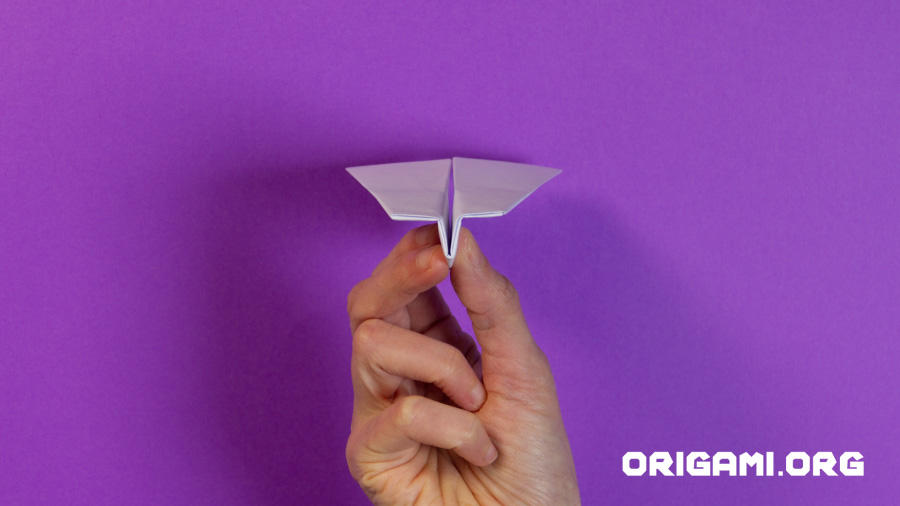
This is the front view of your hammer plane!
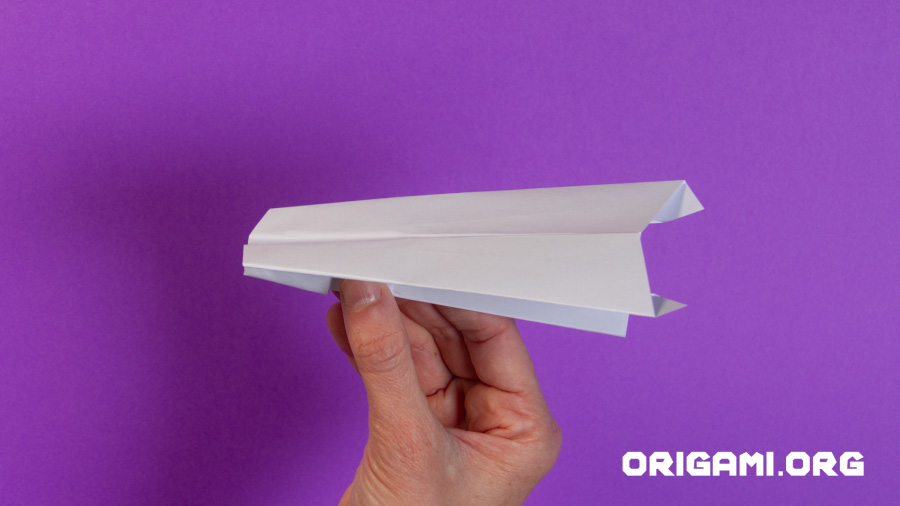
The side view of your hammer plane – it’s ready to fly!