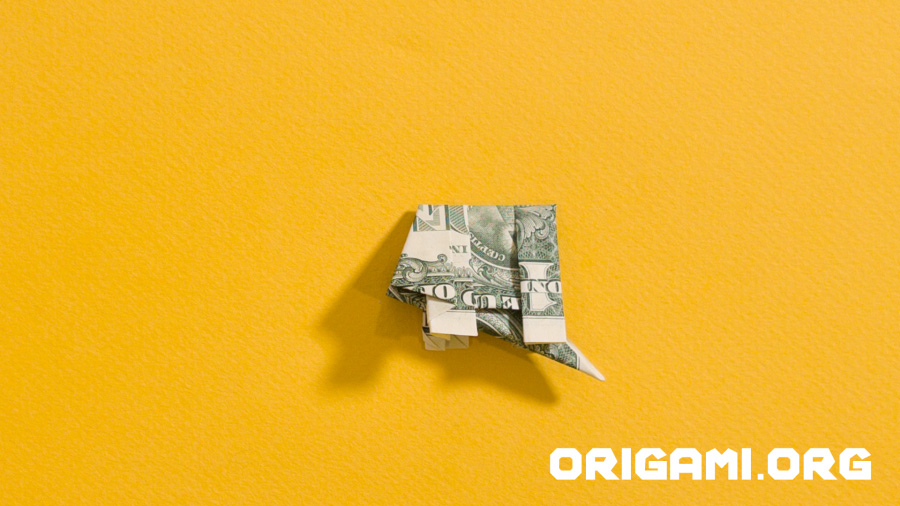
Step 41: Press down and your dollar bill should now look like this

Step 42: Unfold the trunk so your dollar bill looks like
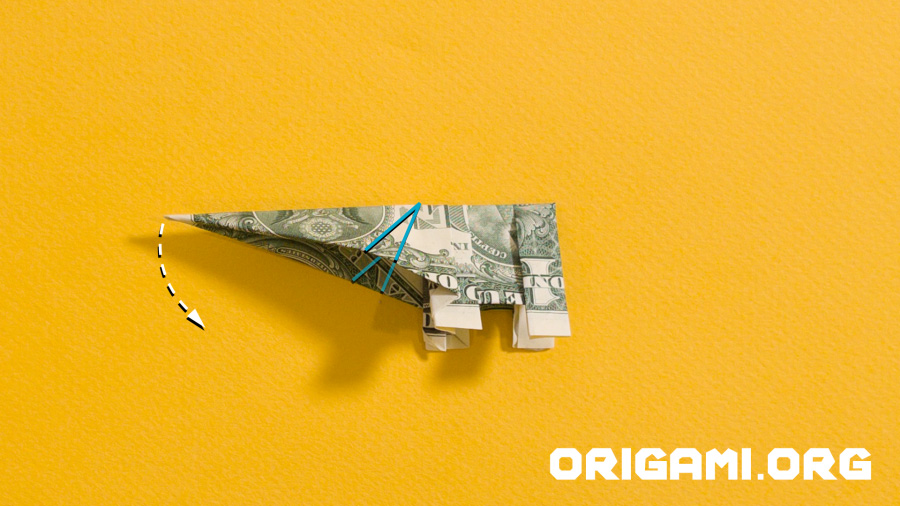
Step 43: Fold the trunk downwards, creating the double blue crease lines shown by folding the paper underneath
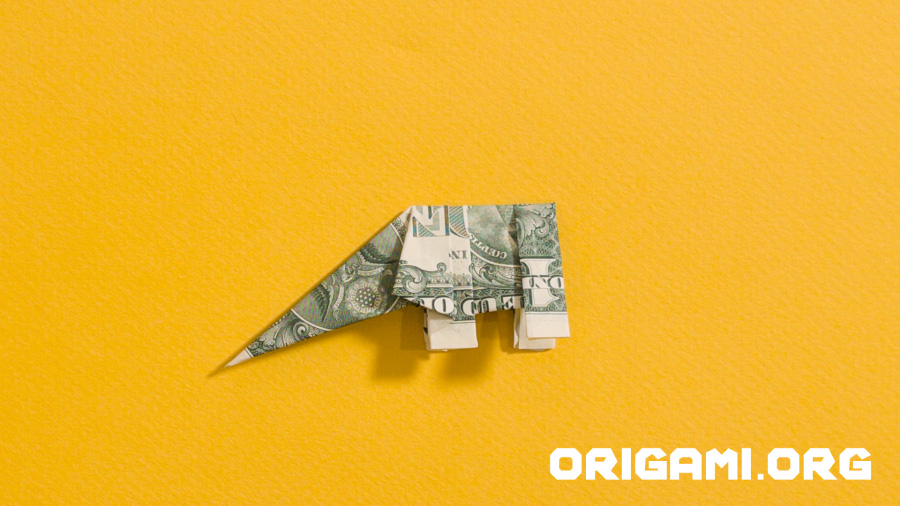
Step 44: Your dollar bill should now look like this – you can now see the elephant’s ears!
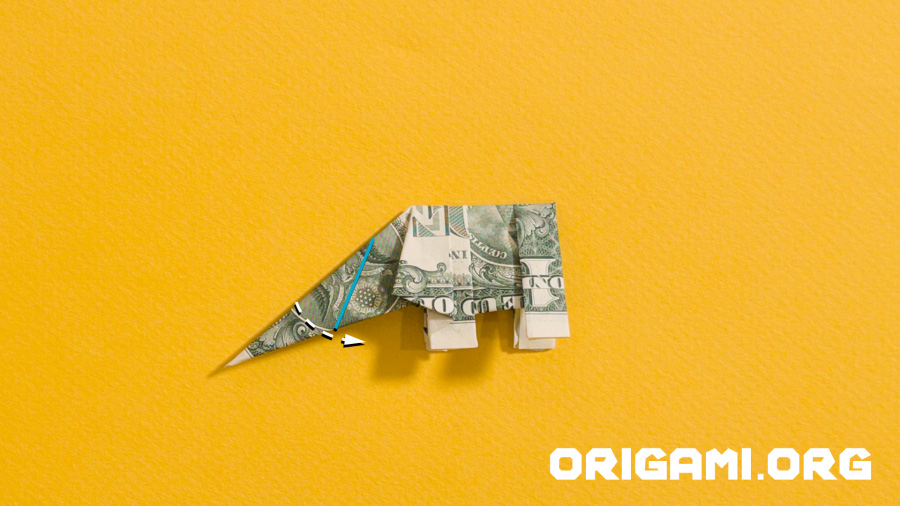
Step 45: Fold the trunk up and over to the right, creating the blue crease line shown
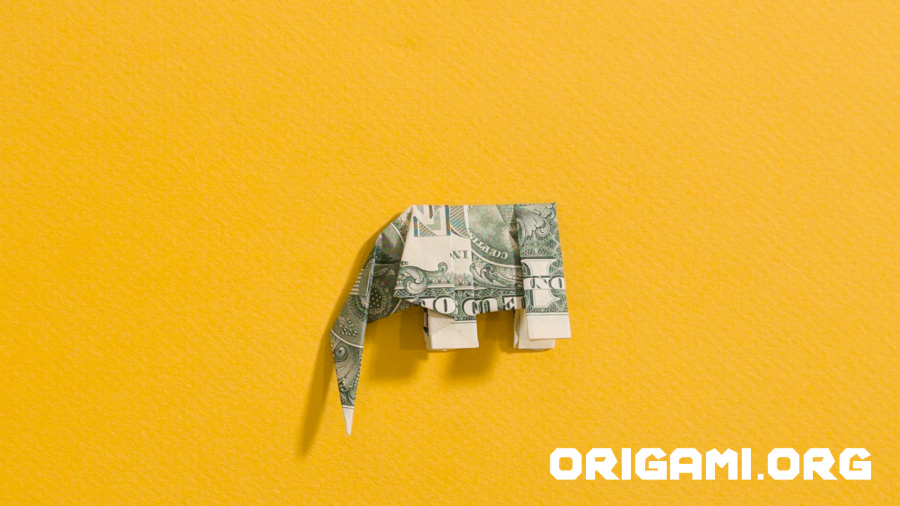
Step 46: When pressed down, the fold should look like this
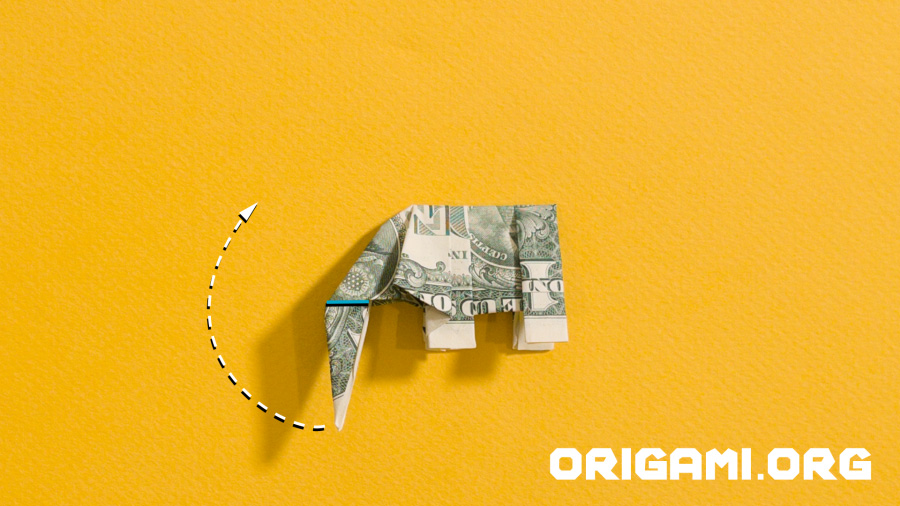
Step 47: Fold the trunk inwards on itself, and fold the tip of the trunk upwards, creating the blue crease line shown
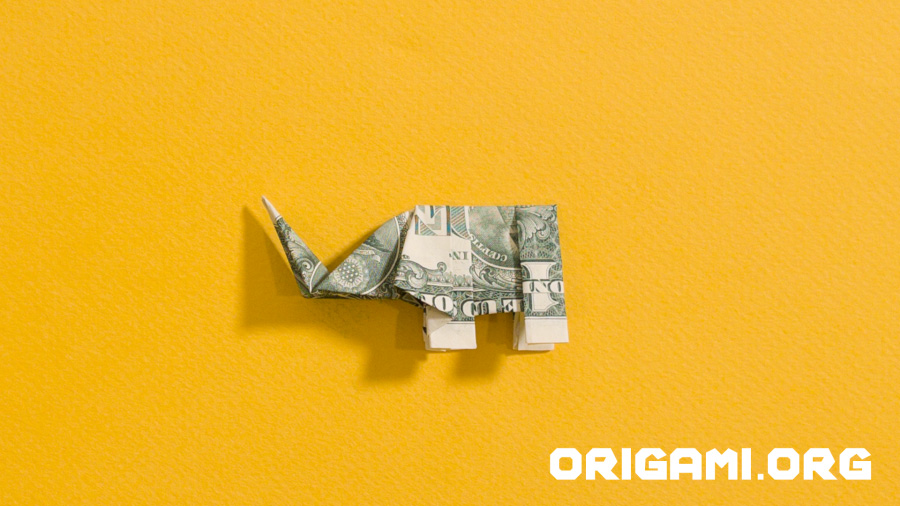
Step 48: Fold the tip of the trunk inwards on itself, when the fold is pressed down, your dollar bill elephant should now look like this
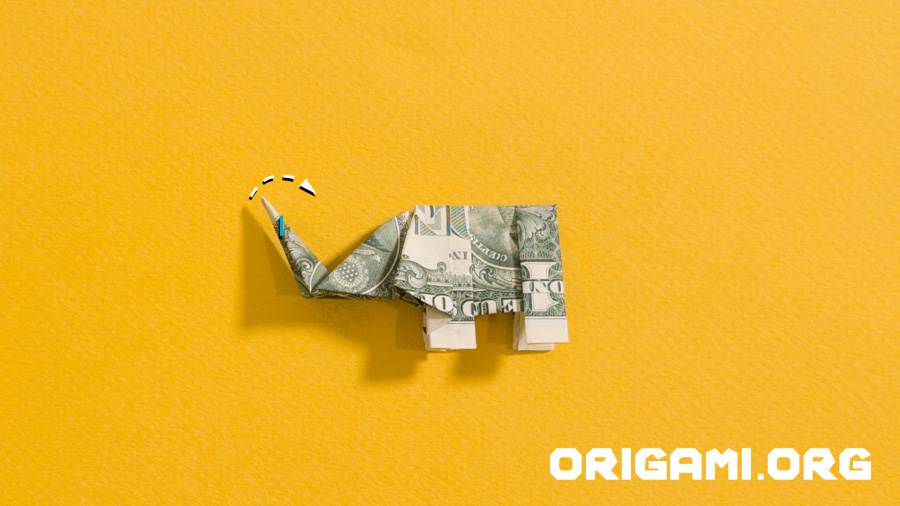
Step 49: Fold the tip of the trunk inwards on itself, creating the crease line indicated in blue
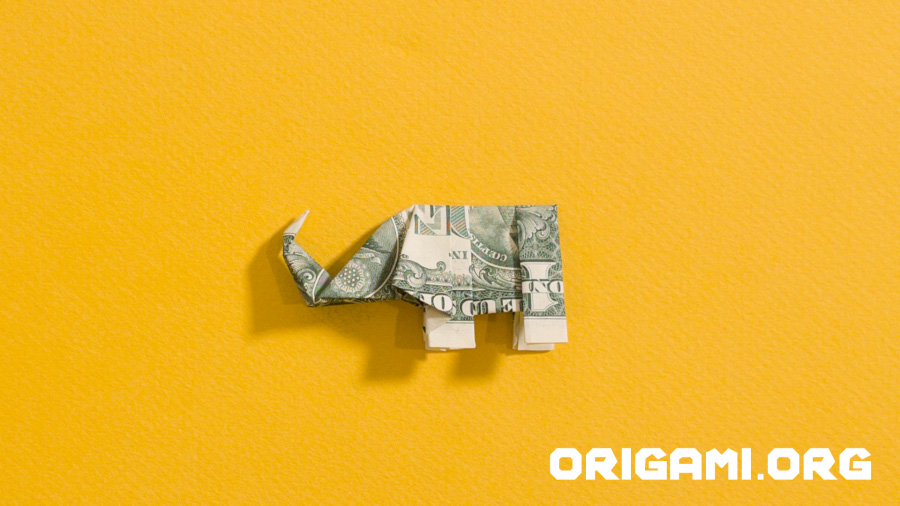
Step 50: Your dollar bill elephant should now look like this
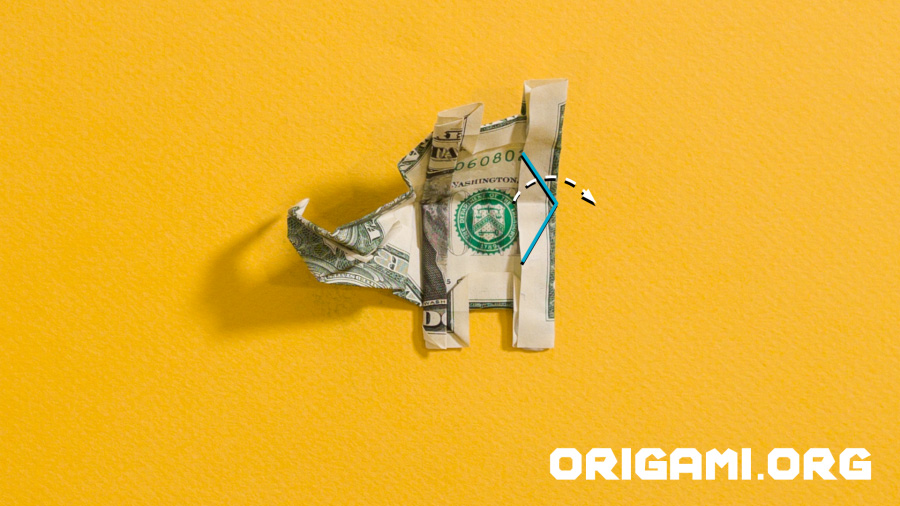
Step 51: Open up your elephant and fold the the section shown by lifting the top layer and folding it to the right, creating the blue crease lines
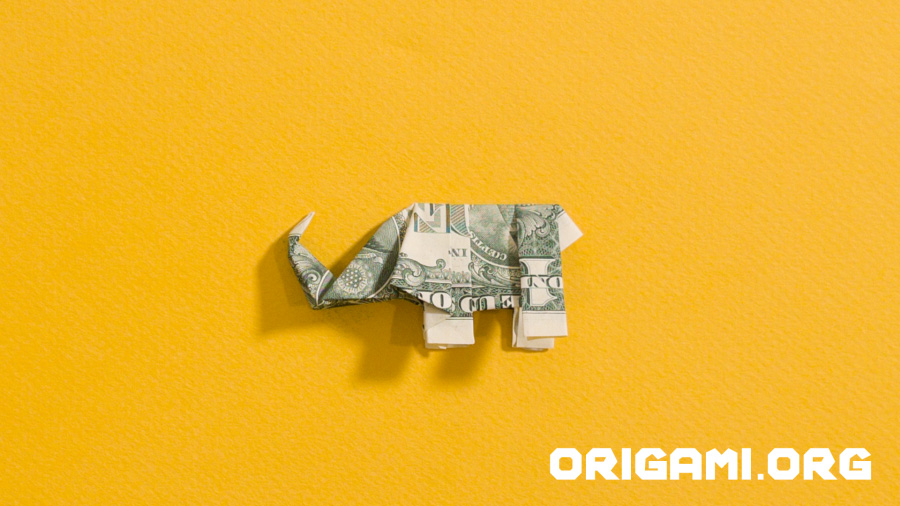
Step 52: When the dollar bill is closed again, this triangle becomes the elephant’s tail
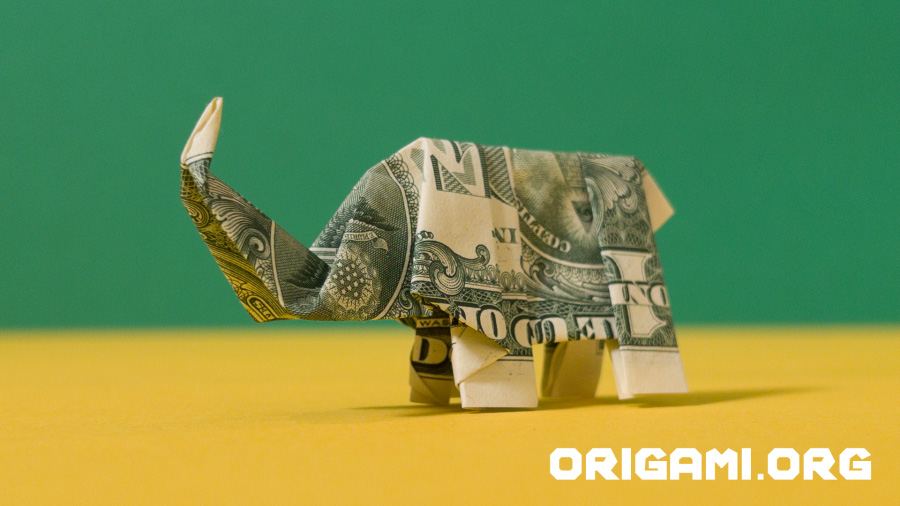
Your dollar bill elephant is complete! Isn’t it cool?!
