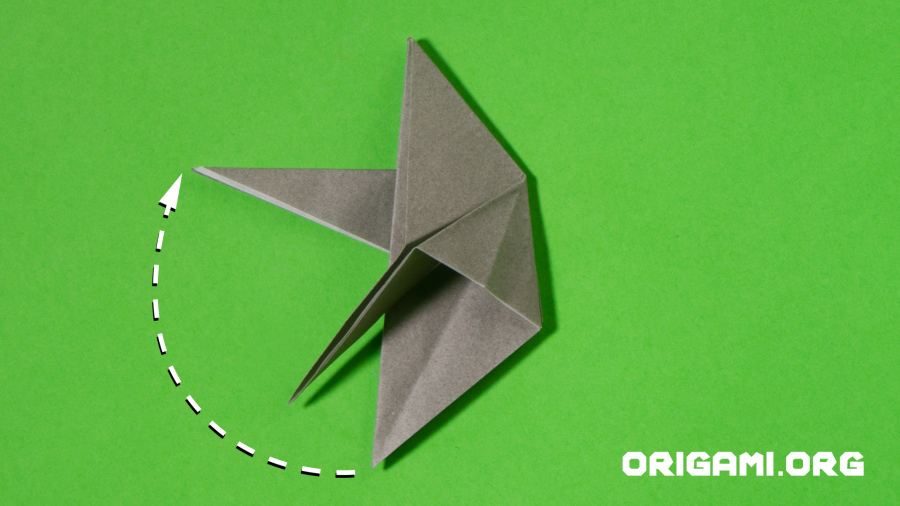
Step 11: Turn the paper over so the right ear now faces left. Repeat steps 9 & 10 to create the second ear, by lifting the lower point upwards, pinching the top of it to create the new fold line show on the top triangle. Now fold the point underneath so it lies horizontally and in line with the other point
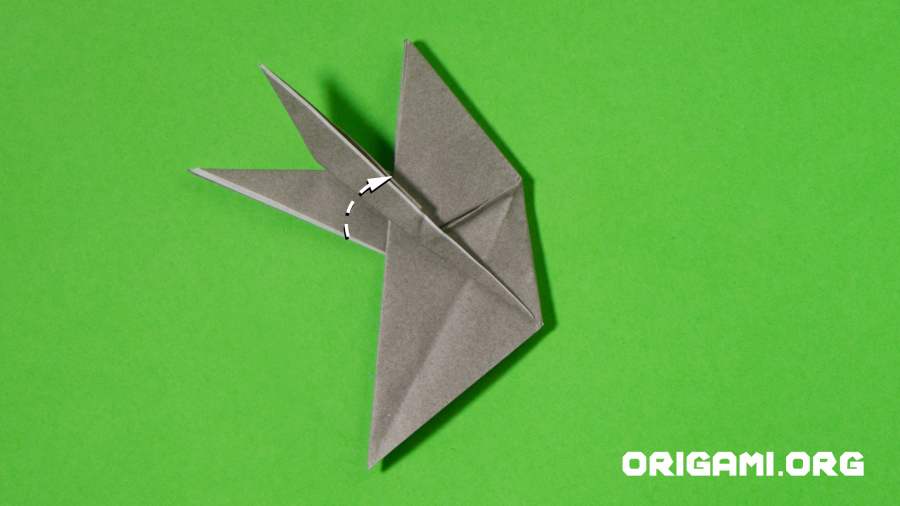
Step 12: Fold the top ear upwards, ensuring the crease runs from the right point
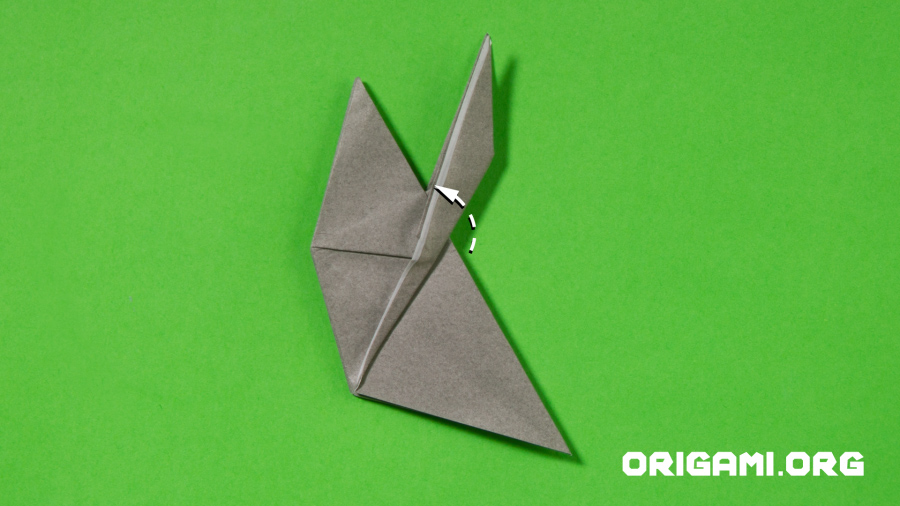
Step 13: Turn the paper over and repeat step 12 on the other ear
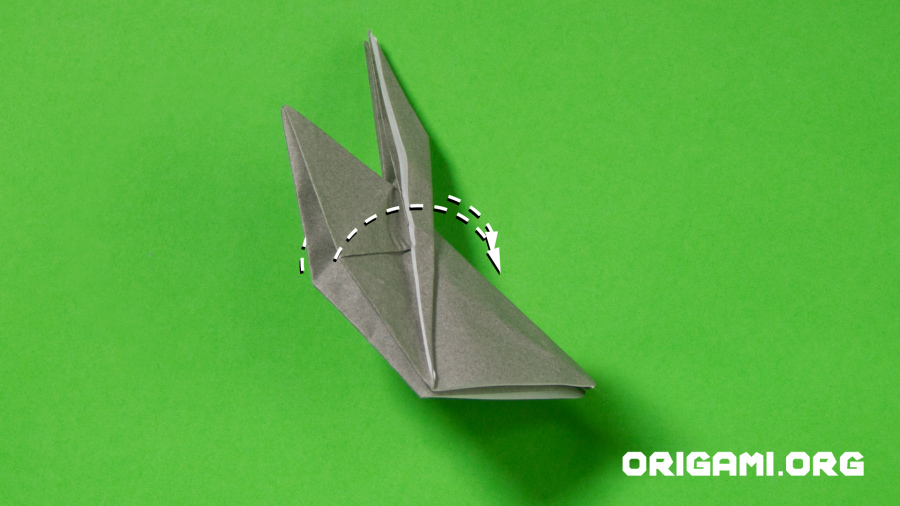
Step 14: Open up the inside of the rabbit’s body, folding the sides backwards, as you do this the rabbit’s head should start folding downwards at the same time. The sides should just overlap the ears on each side. Take your time as this is quite a tricky fold!
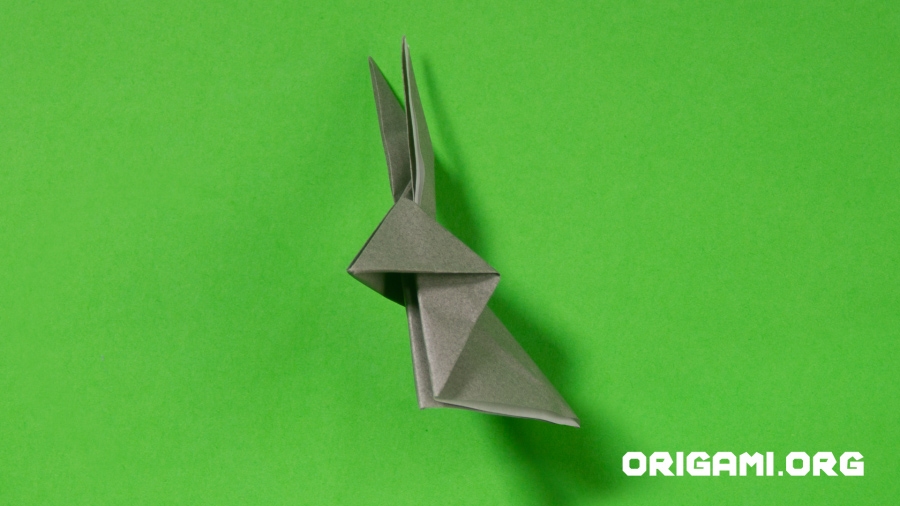
Step 15: Your rabbit should now look like this!
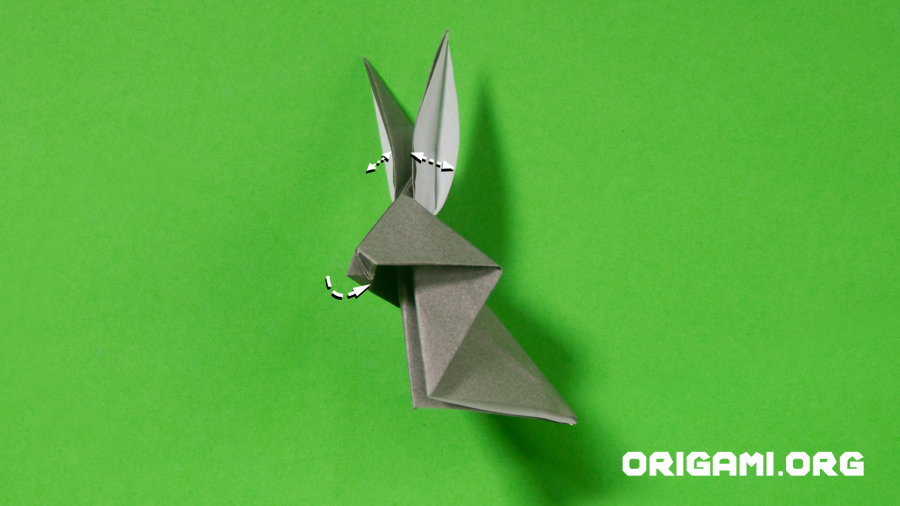
Step 16: Open up the rabbit’s ears so you can see the inside of them. Create the rabbit’s nose by folding the tip inwards on itself (reverse folding).
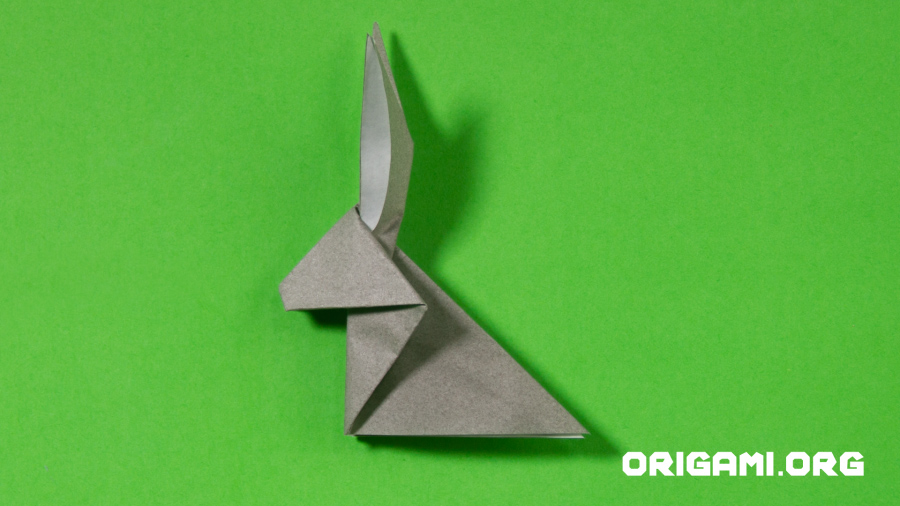
Step 17: Your rabbit’s side profile should now look like this
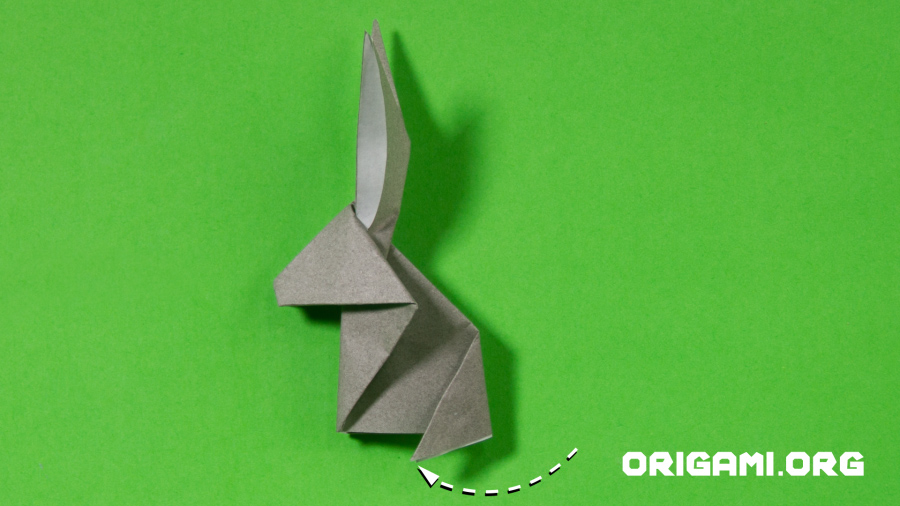
Step 18: Fold the right point of the rabbit’s body down to the left side
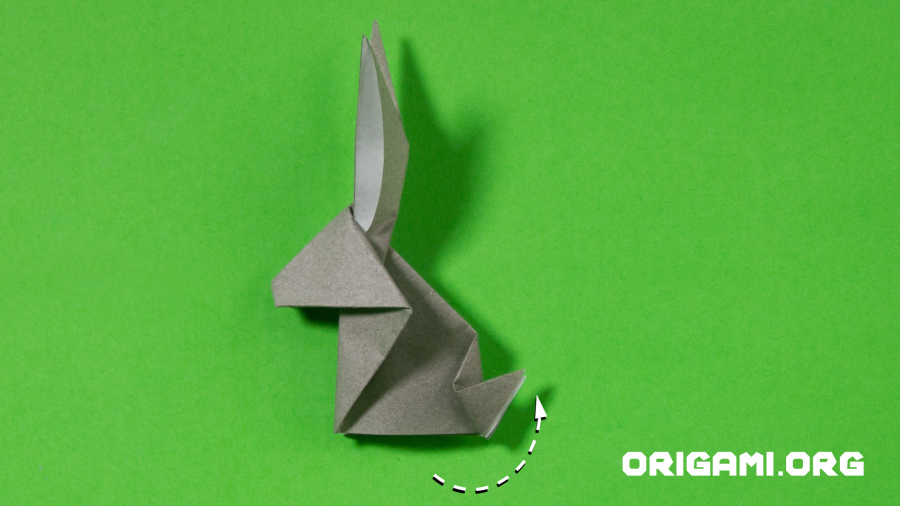
Step 19: Fold the tip of the point back to the right side
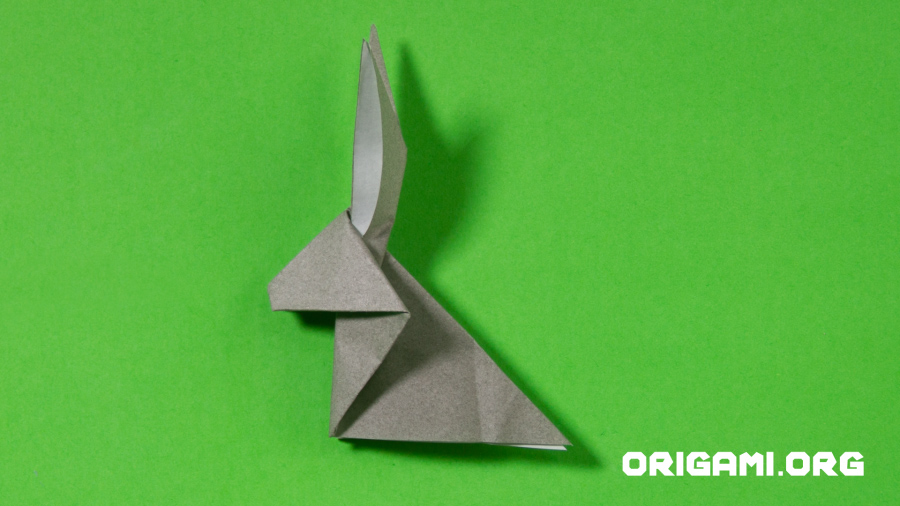
Step 20: Unfold the last two creases you made
