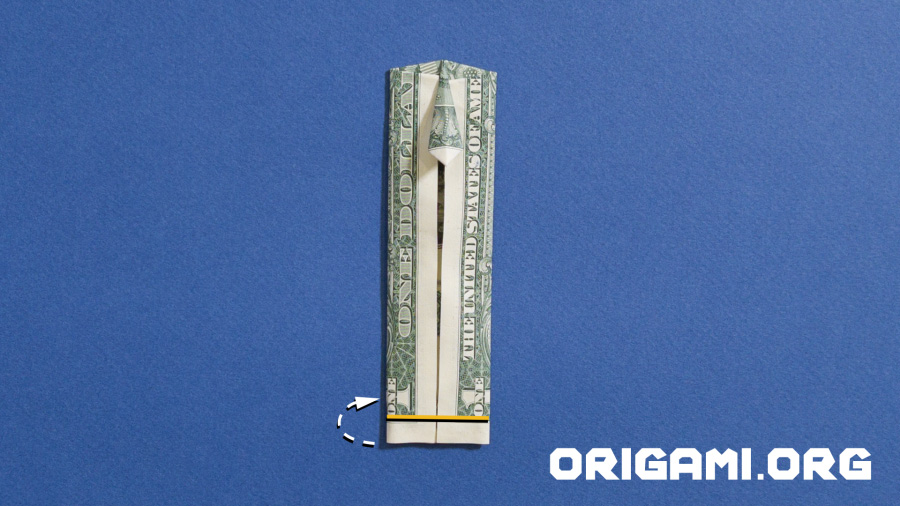
Step 23: Fold the bottom of the dollar bill upwards along the yellow line shown.
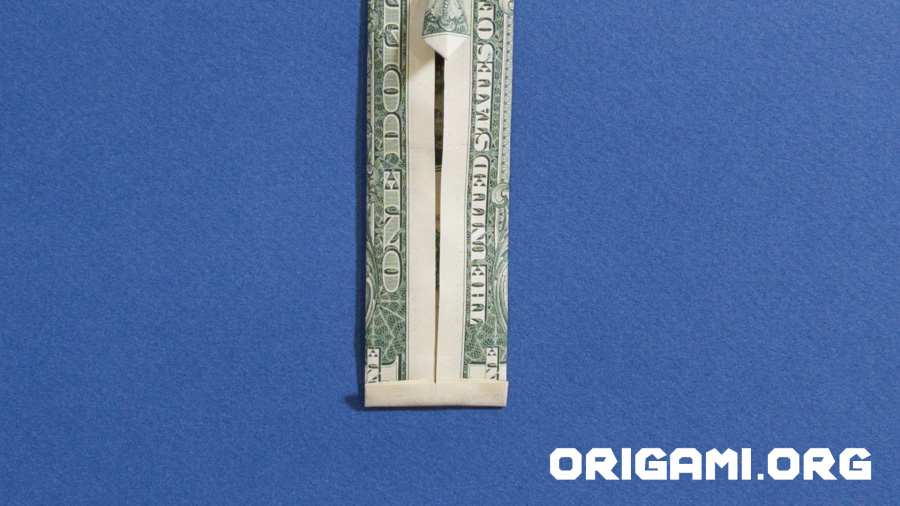
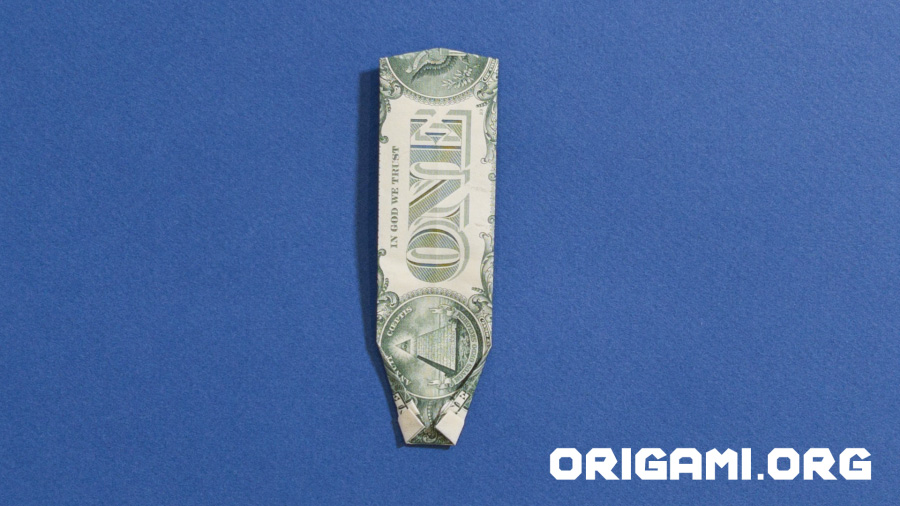
Step 24: The dollar bill should now look like this.
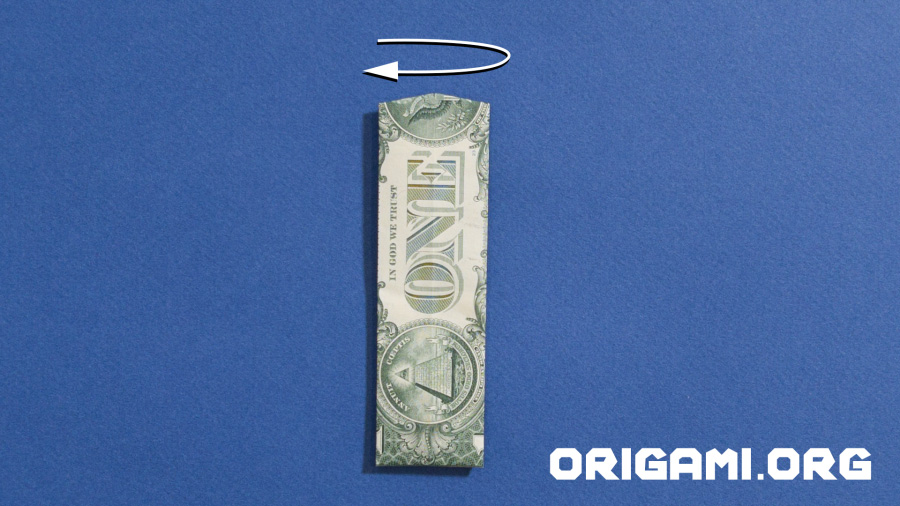
Step 25: Turn the dollar bill over.
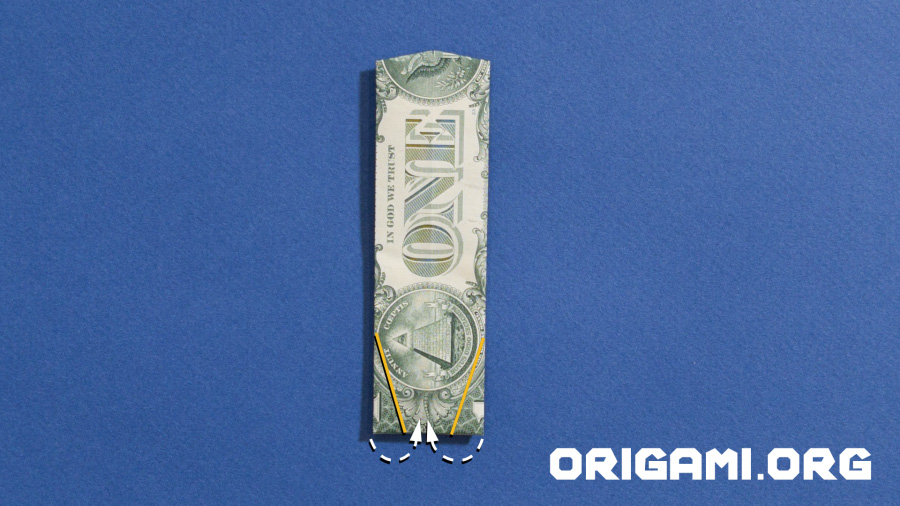
Step 26: Fold the left and right corners in towards the centre along the yellow lines shown in the image.
Step 27: The dollar bill should now look like this.
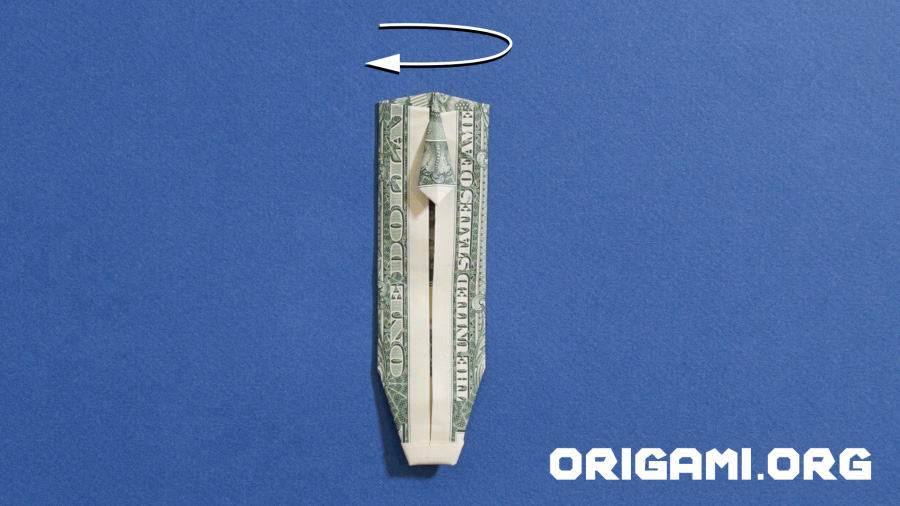
Step 28: Turn the dollar over.
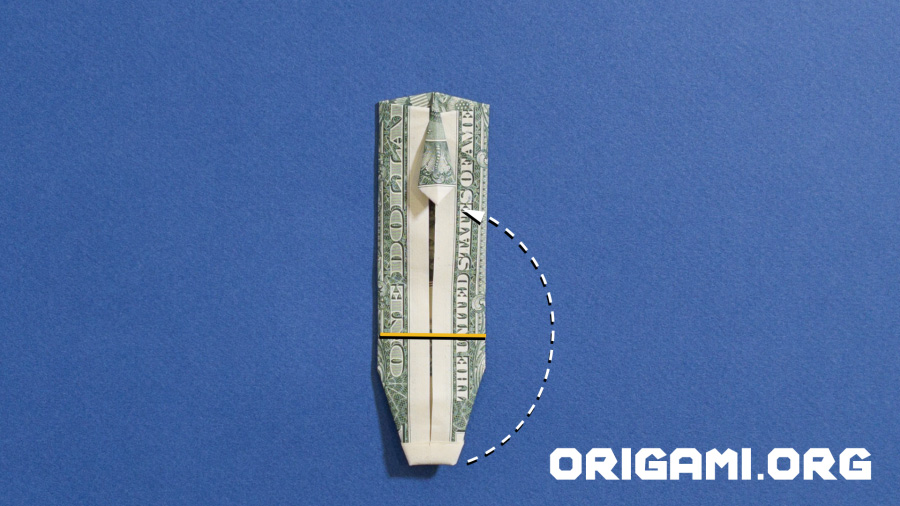
Step 29: Fold the bottom of the dollar bill upwards along the yellow line shown in the image.

Step 30: Fold the bottom of the the dollar bill upwards along the yellow line shown, so that the collar just touches the bottom tip of the tie.
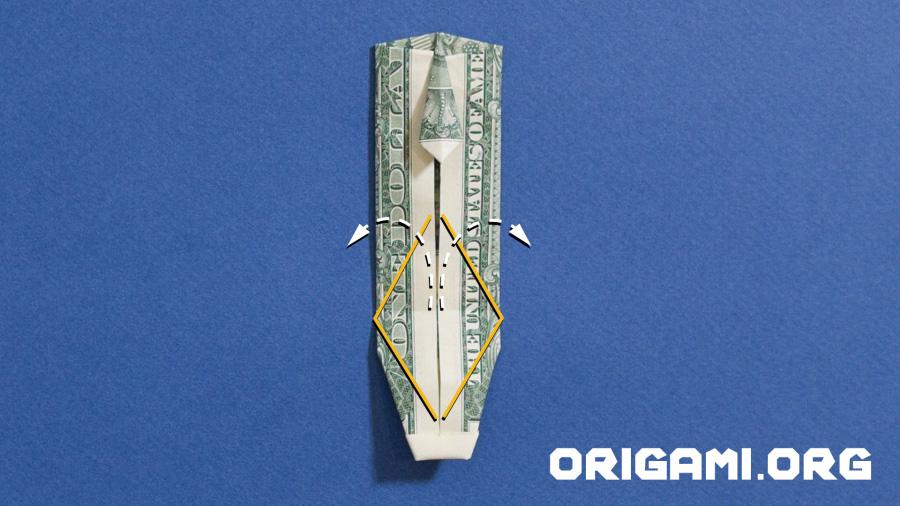
Step 31: Now fold it back down and open the centre fold where the two fold lines cross.
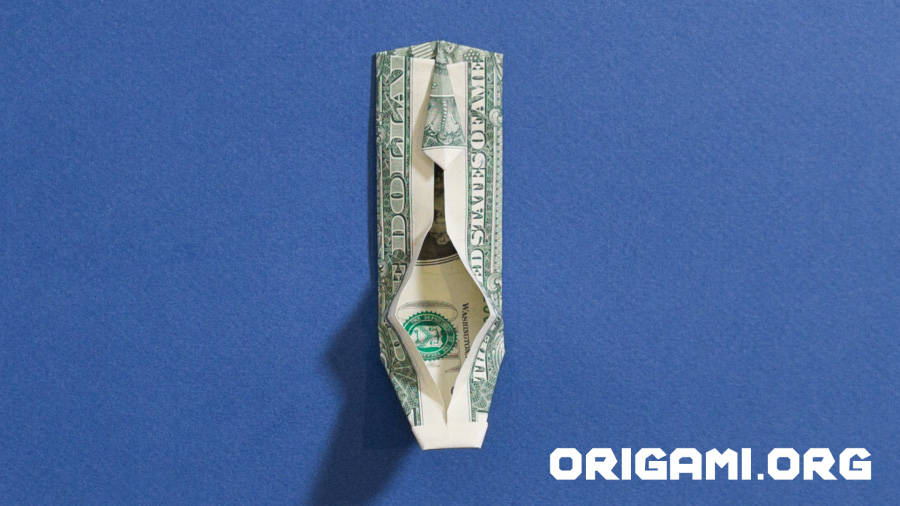
Step 32: Your dollar bill should look like this now. Note the diamond shape in the middle.
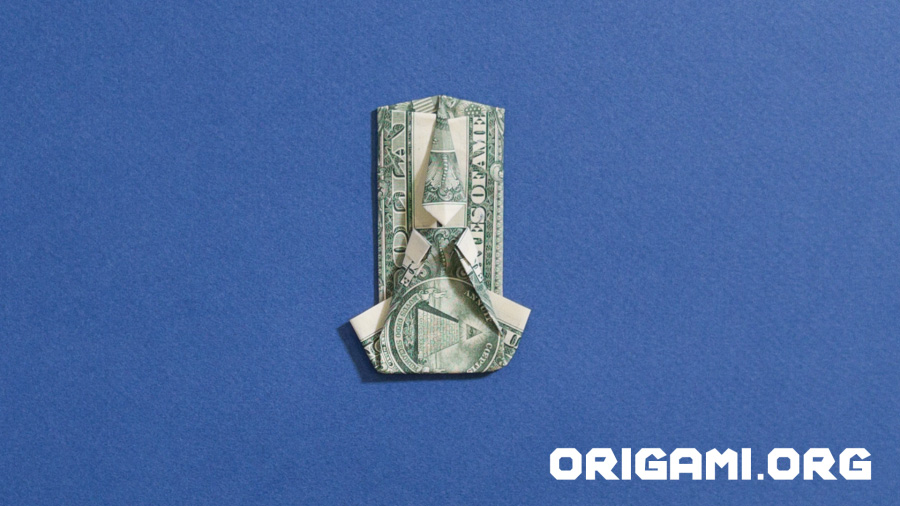
Step 33: Widen the diamond shape and fold the bottom edge up to the bottom of the tie.