Difficulty: Easy
This is how to make an origami ninja in just 10 easy steps!

This is what your origami ninja will look like when finished.

Step 1: Start with a square piece of origami paper. It’s best to use paper that is black on one side and white on the other side.

Step 2: Fold the paper in half from left to right, and from top to bottom so that your origami paper looks like this
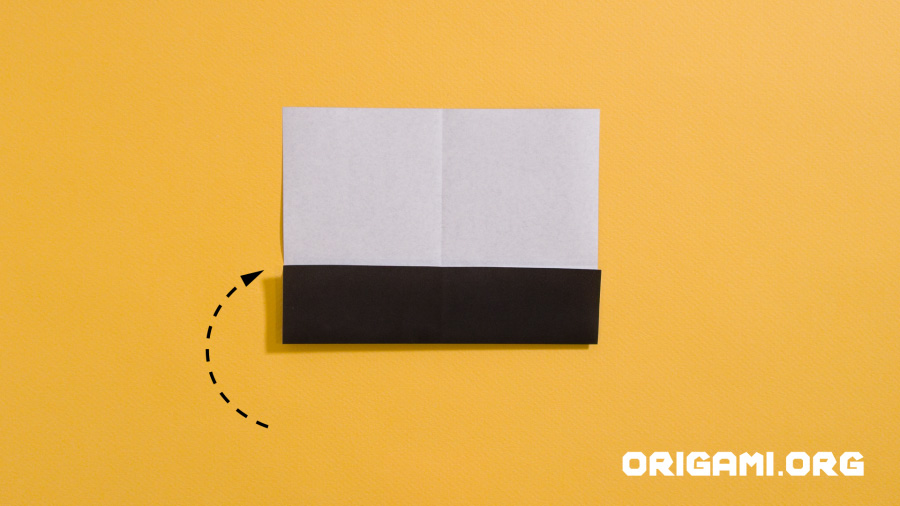
Step 3: Fold the bottom edge up to the middle line

Step 4: Fold the top edge downwards, half way between towards the middle line.
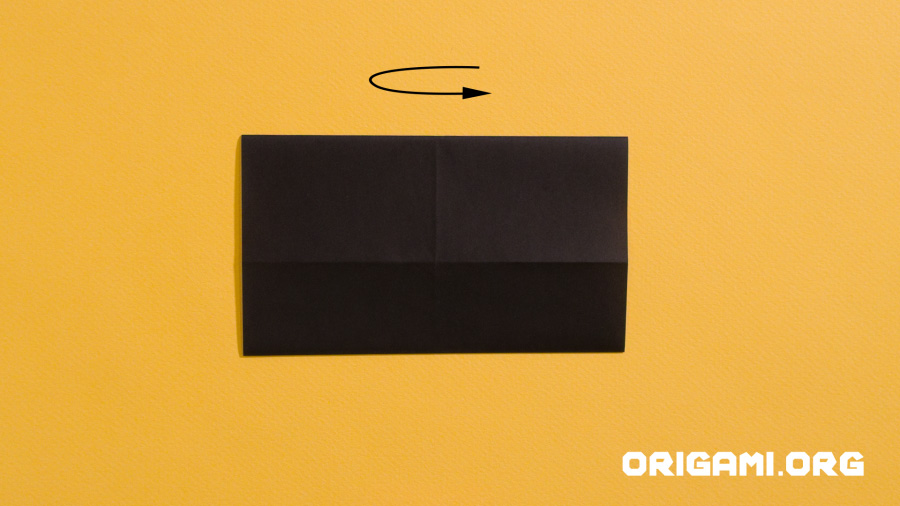
Step 5: Turn the paper over
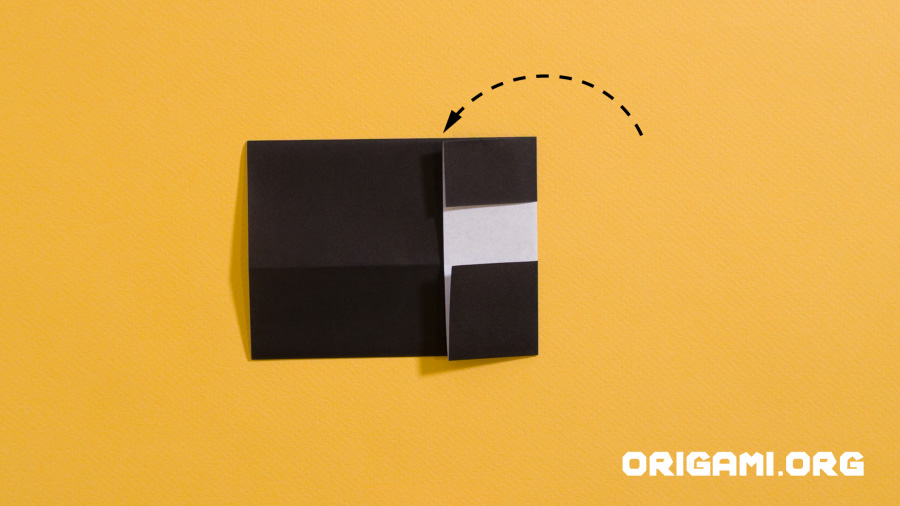
Step 6: Fold the right edge in to the middle
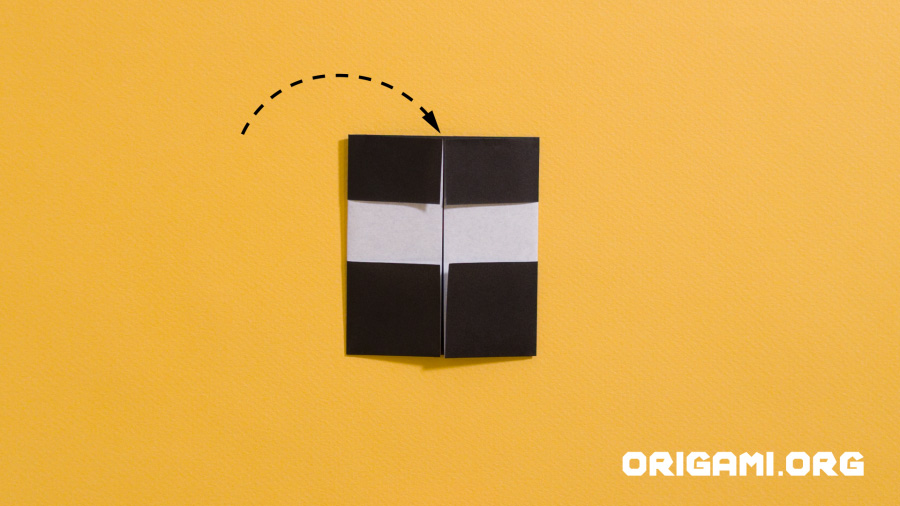
Step 7: Now fold the left edge in to the middle
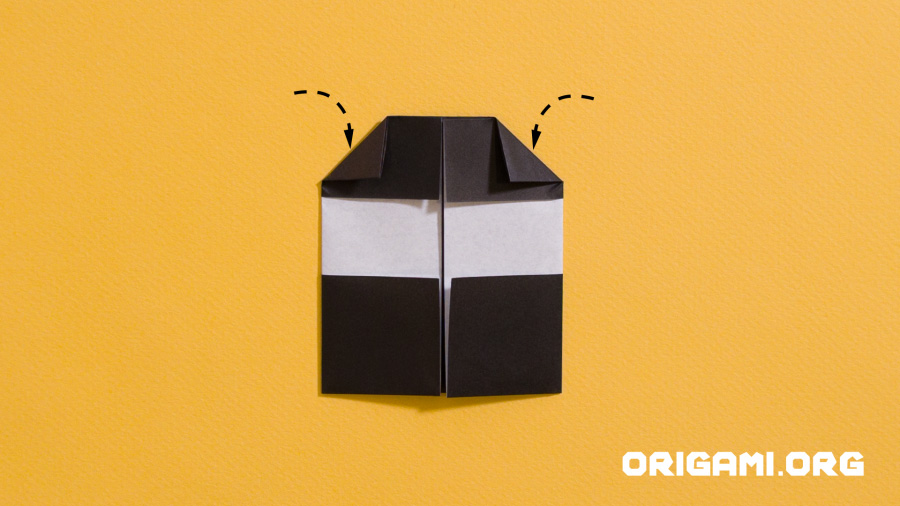
Step 8: Fold the top corners in like this
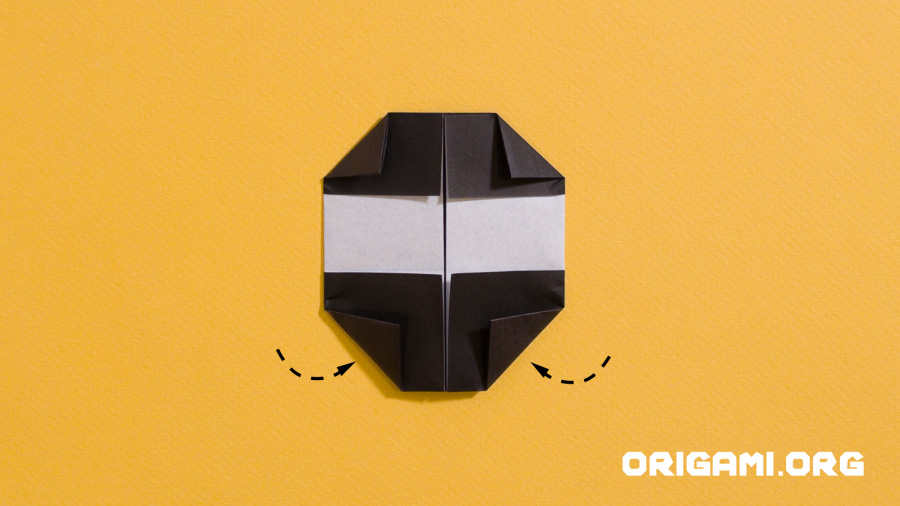
Step 9: And now fold the bottom corners in

Step 10: Turn the paper over and draw the eyes to finish your awesome Ninja!
