Welcome to the wonderful world of origami, where the art of paper folding allows you to bring your very own paper pup to life! Whether you’re a dog lover or simply a craft enthusiast, you’re about to embark on an enjoyable journey to create an origami dog that’s bound to charm hearts.
Origami, a traditional Japanese craft, invites you to transform a simple sheet of paper into a three-dimensional masterpiece. Crafting an origami dog is not only a delightful pastime but also a beautiful way to showcase your creative talents and appreciation for our canine companions.
In this step-by-step guide, we will lead you through the process of folding an adorable origami dog, from selecting the ideal paper to mastering the essential folds and adding lifelike details. Whether you’re a seasoned origami artist or a complete beginner, our instructions are designed to be clear and accessible to all skill levels.
So, gather a square sheet of paper, create a cozy crafting nook, and let’s embark on this creative journey together. By the end, you’ll have a charming origami dog to display on your desk or share as a thoughtful gift. Let’s dive into the enchanting world of paper-folding and bring your paper pooch to life!
This is how to make an easy origami dog in 8 short steps.
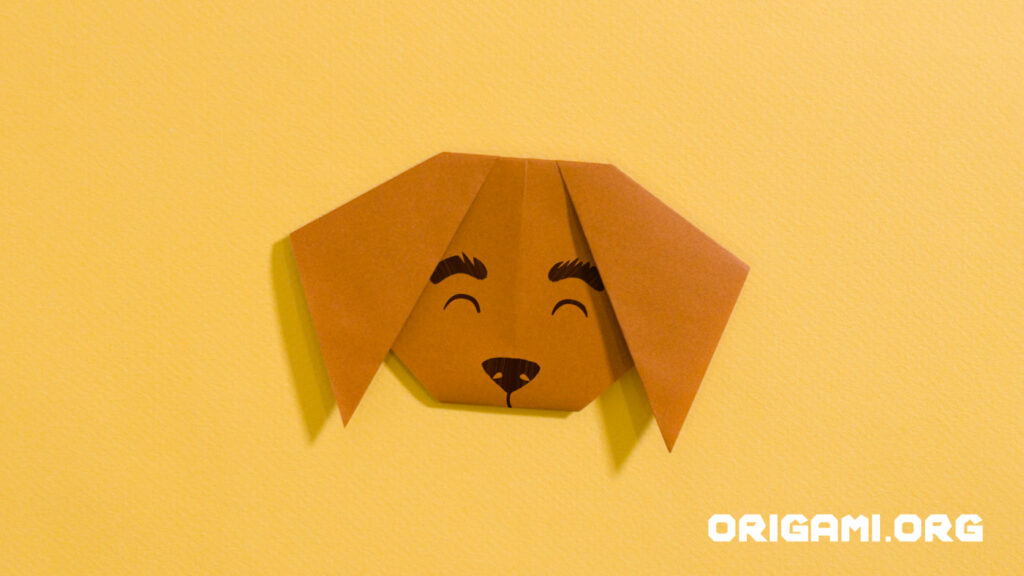
This is what your finished origami dog will look like!
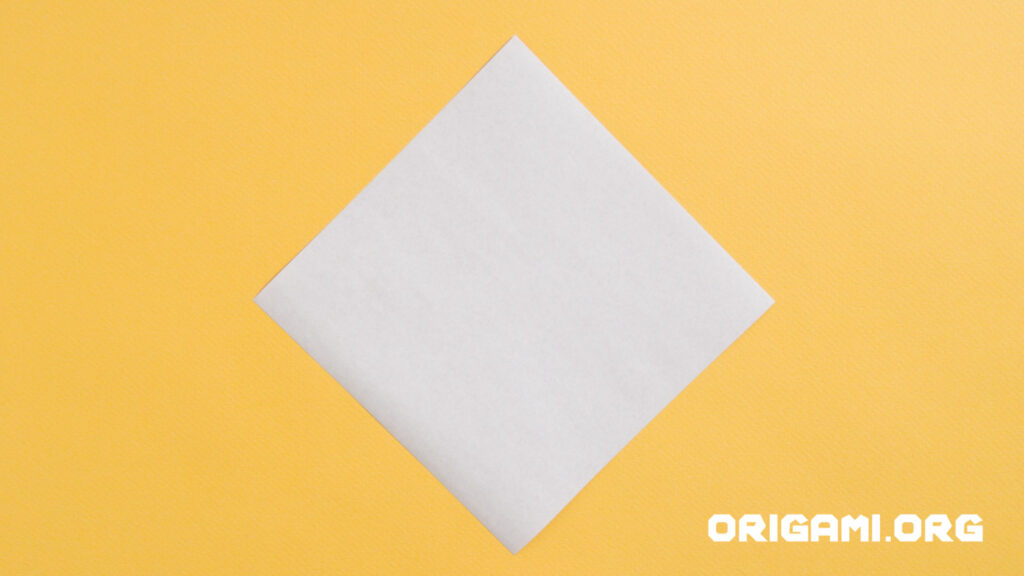
Step 1: Start with a square sheet of origami paper.

Step 2: Fold the paper in half by taking the top corner down to the bottom corner.

Step 3: Fold the paper in half again, by taking the left corner over the right corner.
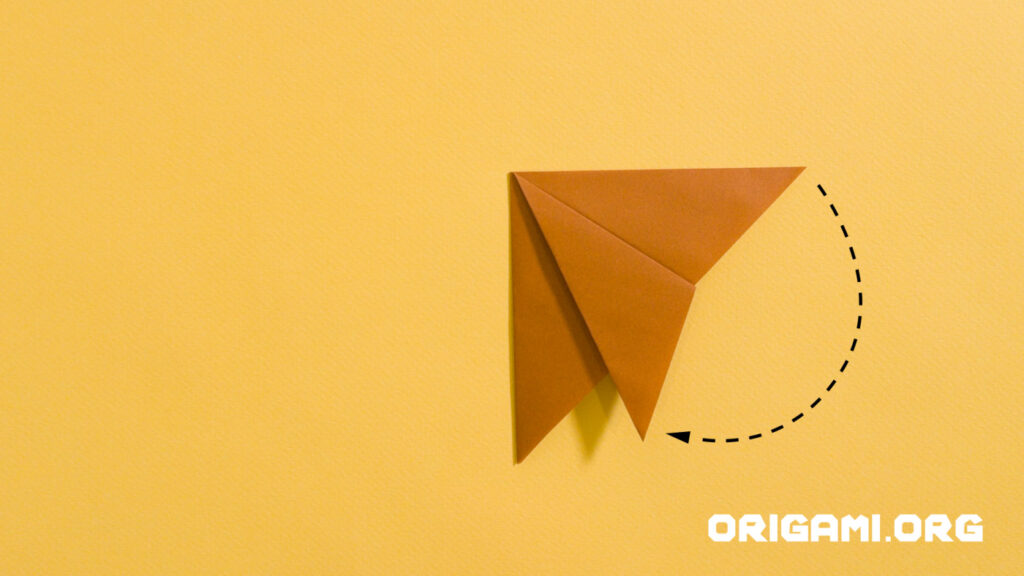
Step 4: Take the top layer only, and fold it down at an angle like this to make one ear.
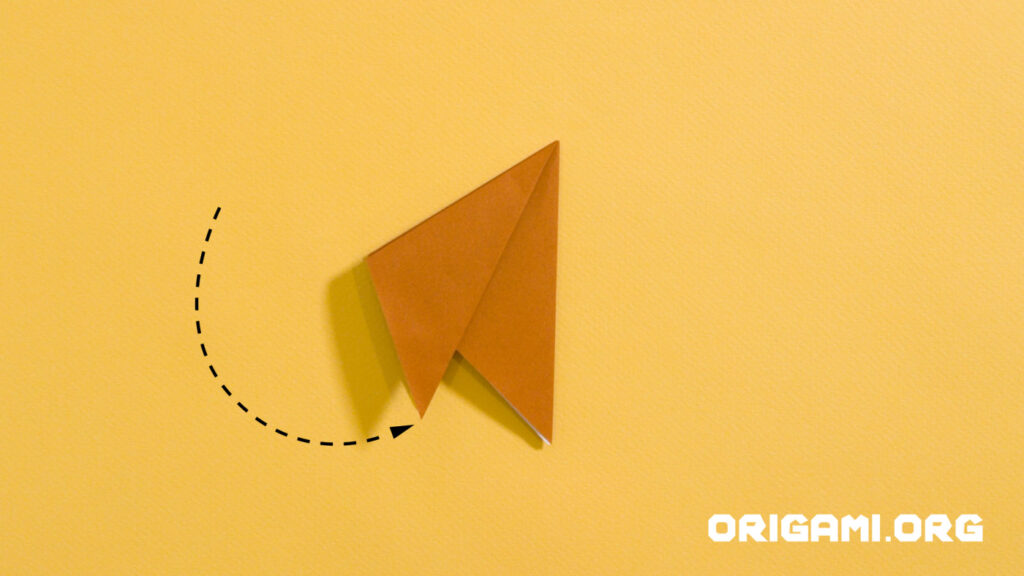
Step 5: Turn the paper over and repeat step 4 with the other side. This will make the other ear.
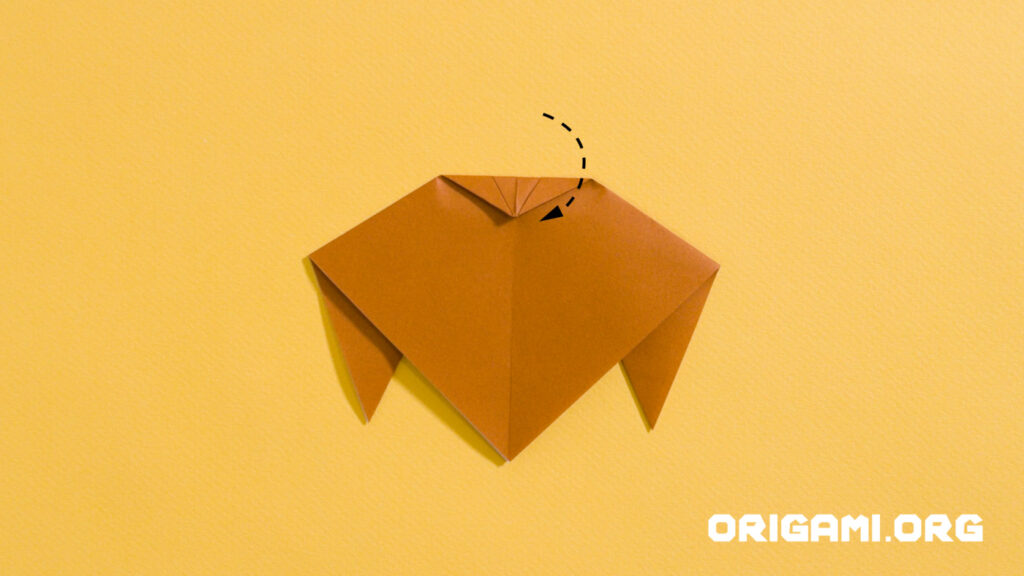
Step 6: Open it up, and fold down the top corner like this to flatten the head.
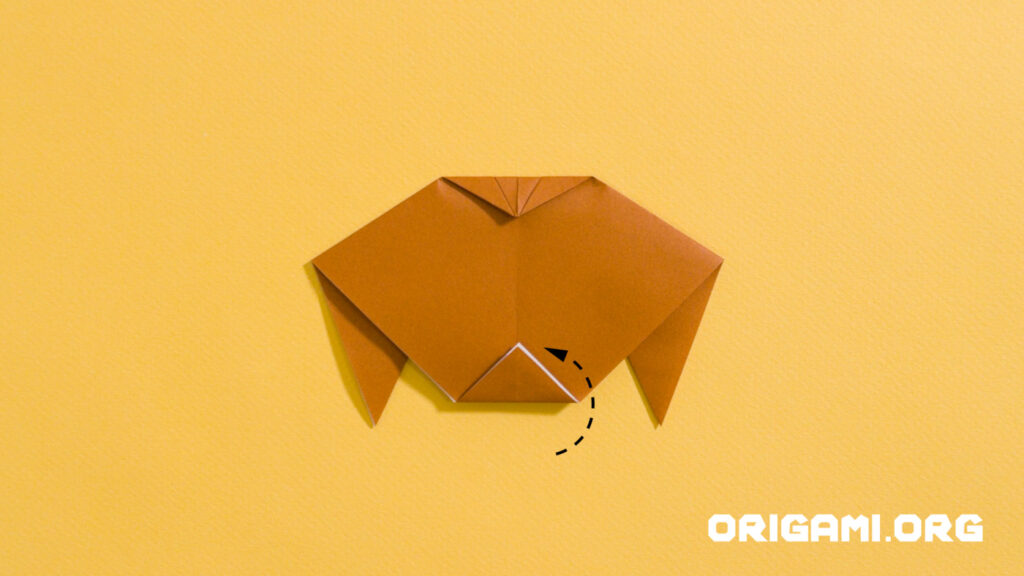
Step 7: Fold up the bottom corner to flatten the jaw
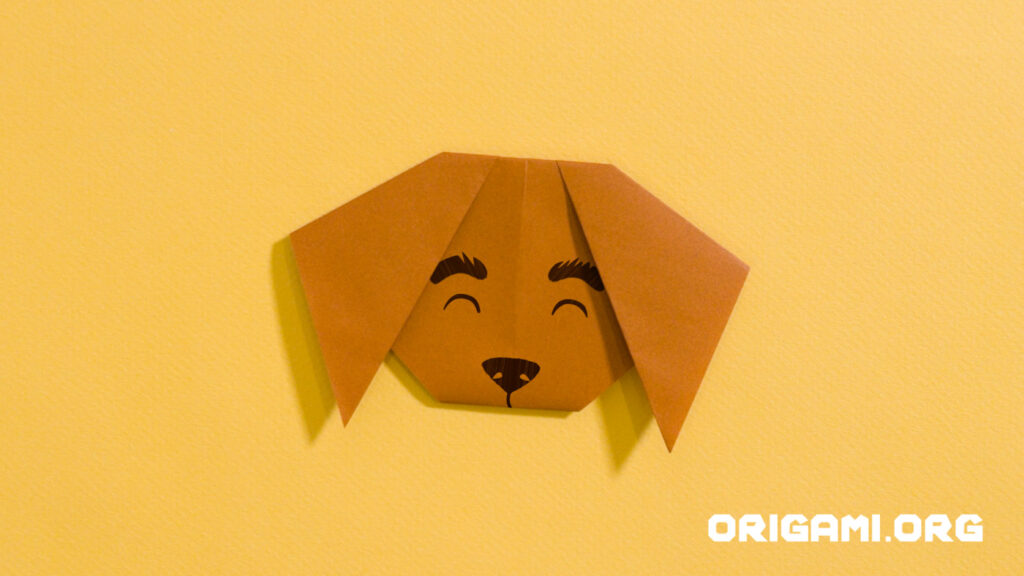
Step 8: Turn the paper over and draw in the facial features. Woof!
