Difficulty: Easy
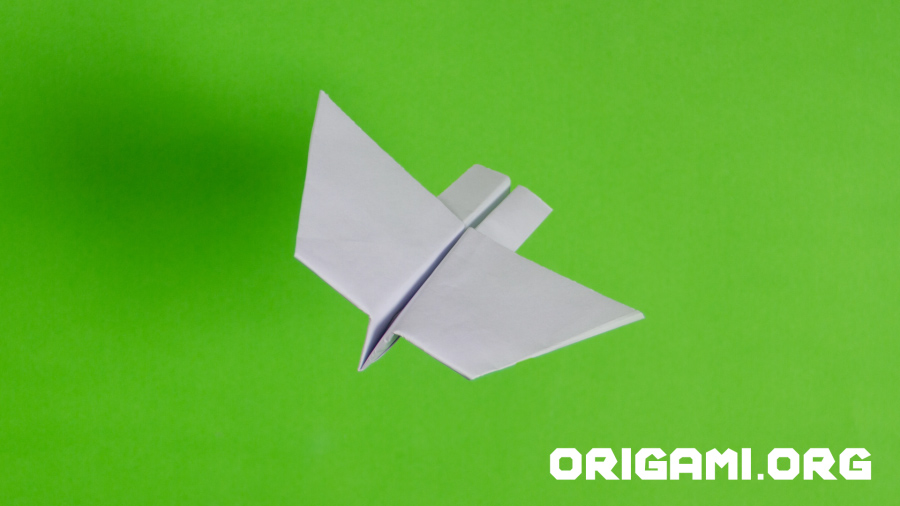
Just look at this for a sleek origami paper plane design! Named after the amazing prehistoric flying reptile, the pterodactyl, this little stunt plane is great fun! You will need a pair of scissors for this origami creation.
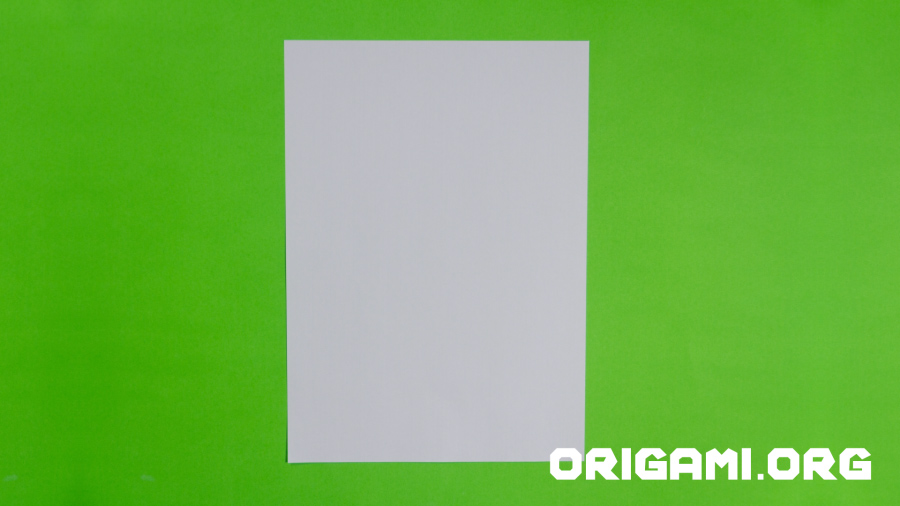
Step 1: Start with a rectangular piece of A4 paper – in your choice of colour
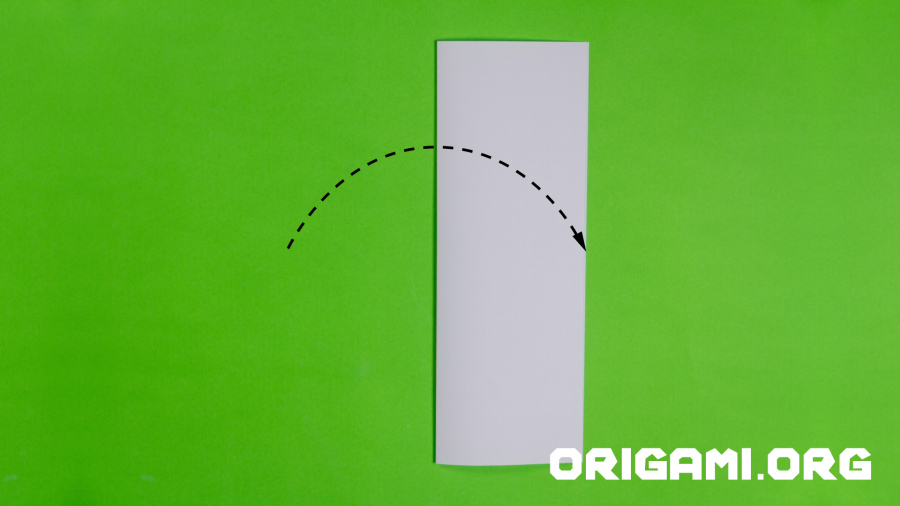
Step 2: Fold the paper in half vertically
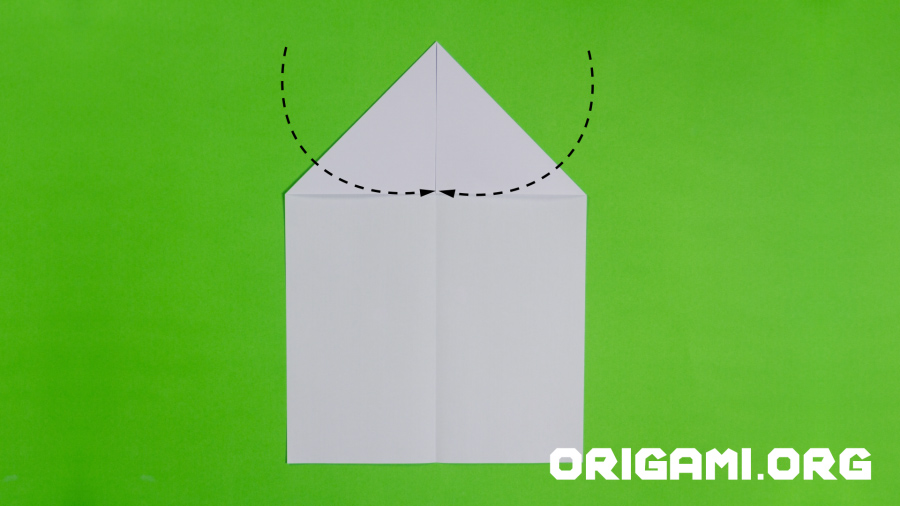
Step 3: Open up the paper and fold the top corners in to meet the centre vertical crease line.
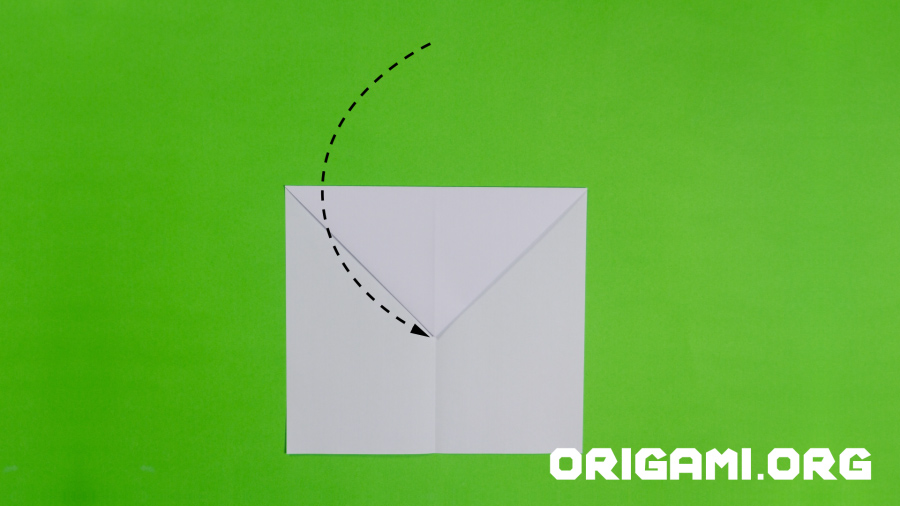
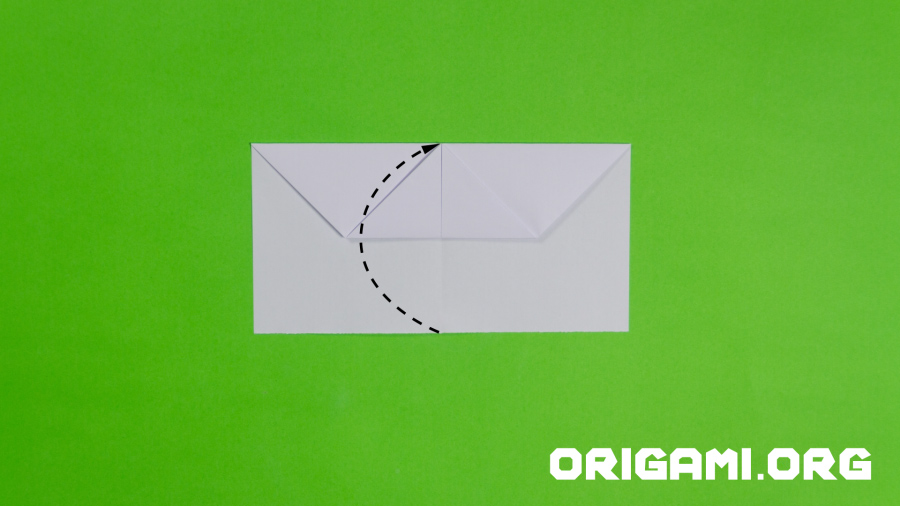
Step 4: Fold the tip of the paper down, creasing along the horizontal line at the bottom of the point
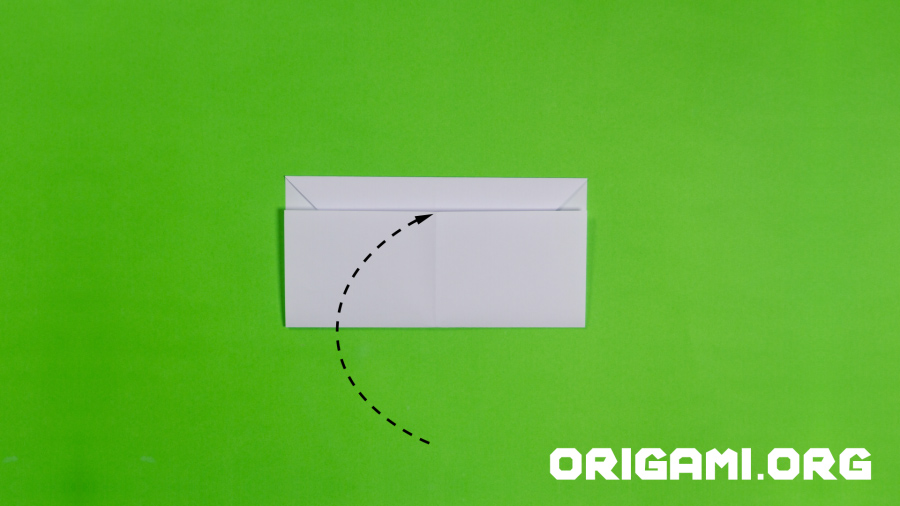
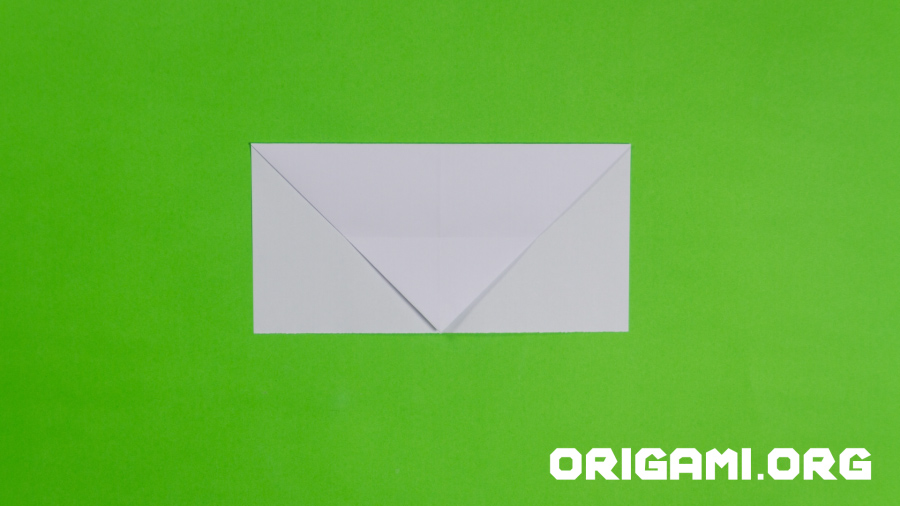
Step 5: Fold the bottom of the paper up towards the top, folding at the point of the inner paper – this should leave a gap as shown
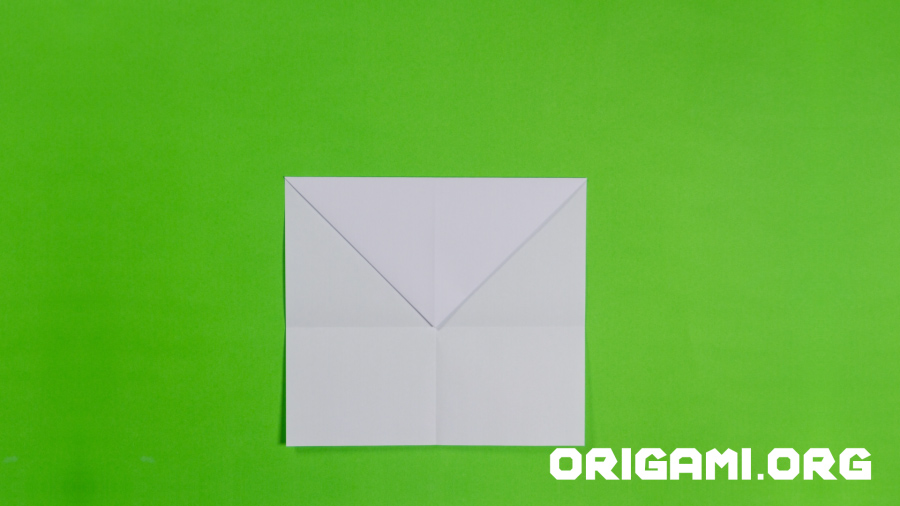
Step 6: Unfold your paper

Step 7: Cut along the hortiztontal fold line. Don’t throw away the piece of paper you cut off! You’ll need this for the Pteroplane’s tail!
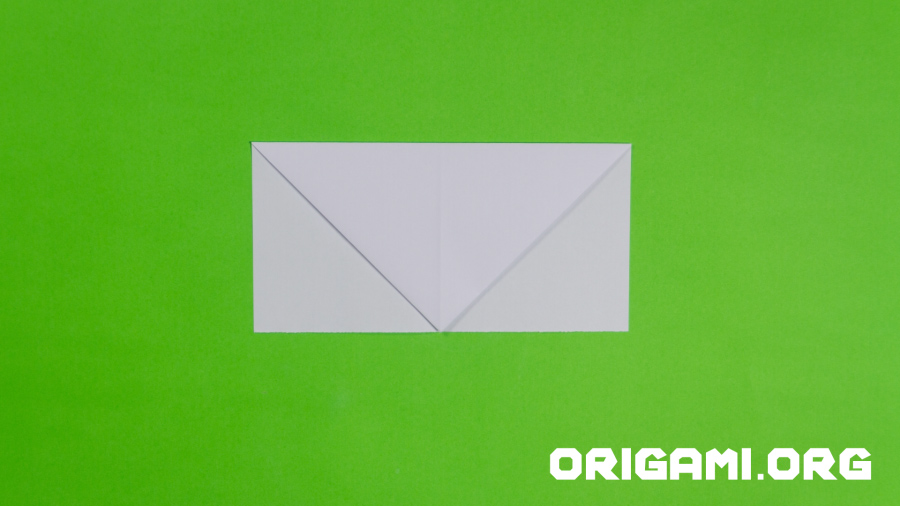
Step 8: Your paper should now look like this and will form the Pteroplane’s wings
Step 9: Fold the tip of the point upwards so it meets the top of the paper
Step 10: Unfold the last crease