
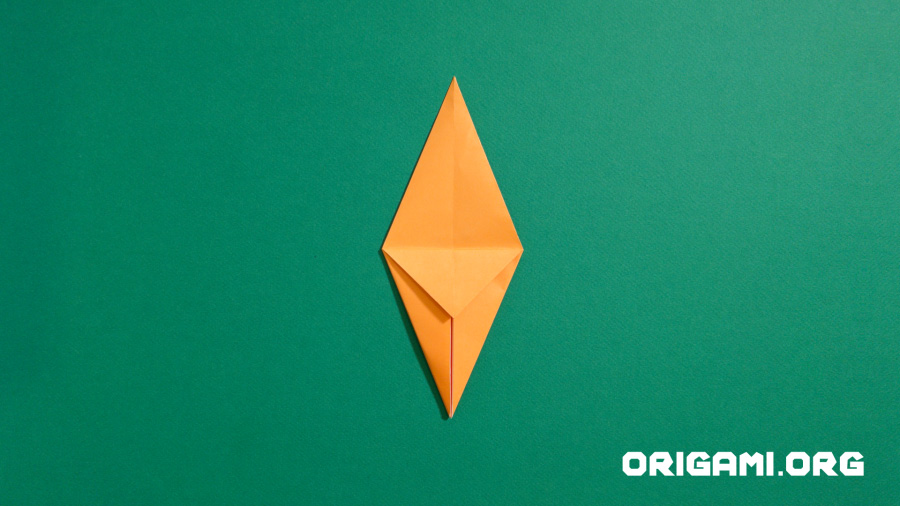
Step 21: Lift the bottom point upwards taking care only to raise the top layer of paper

Step 22: Keep lifting!
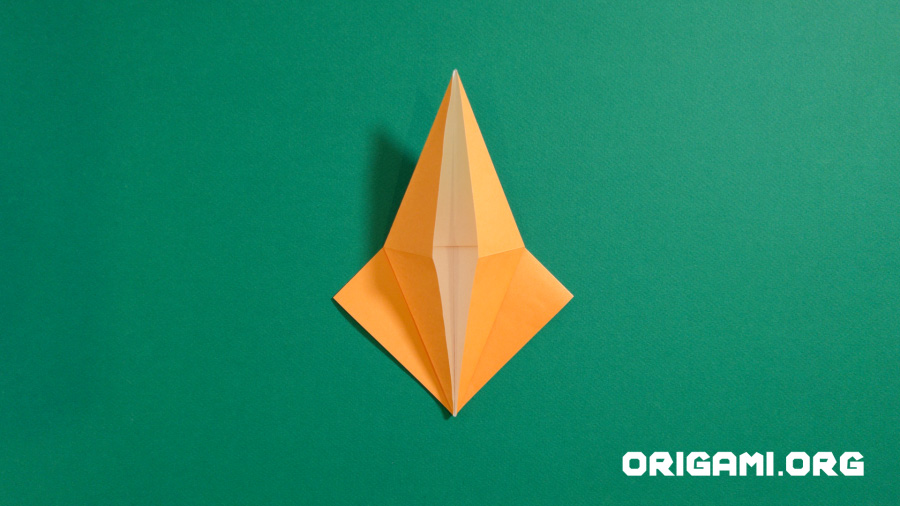
Step 23: Lift the point and the paper should look like this

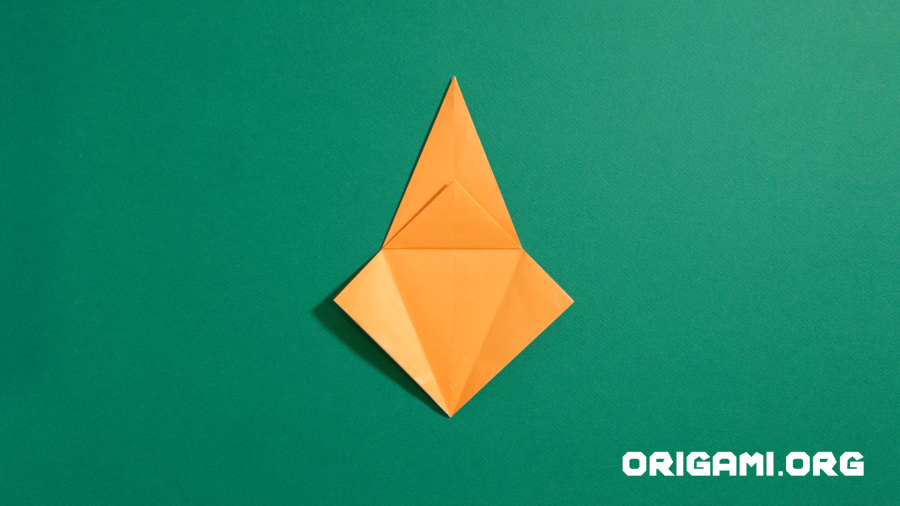
Step 24: Press down flat

Step 25: Turn the paper over
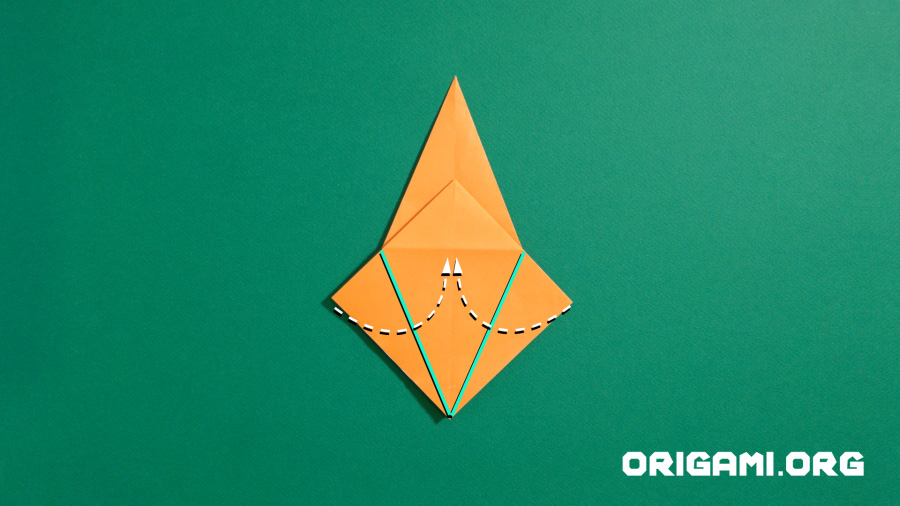
Step 26: Fold the outer ‘wings’ inwards to the centre crease, creating the green crease lines
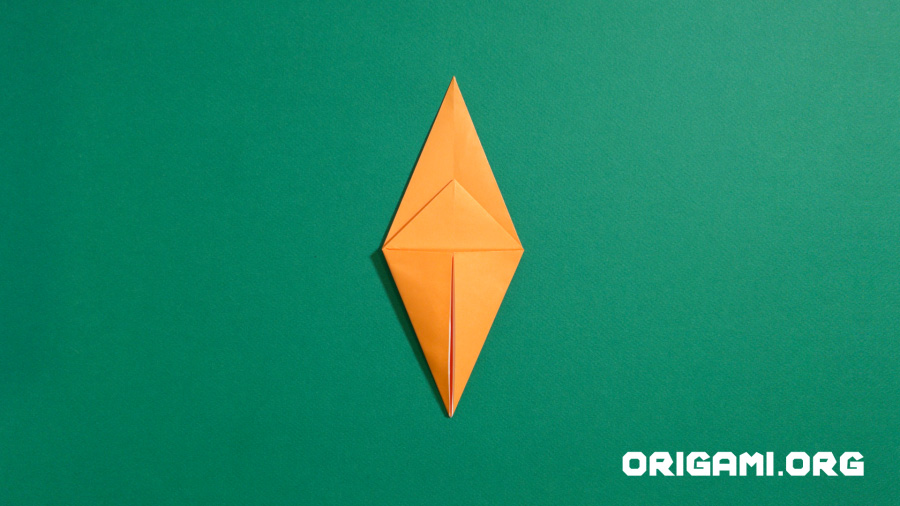
Step 27: Once pressed down, it should look like this
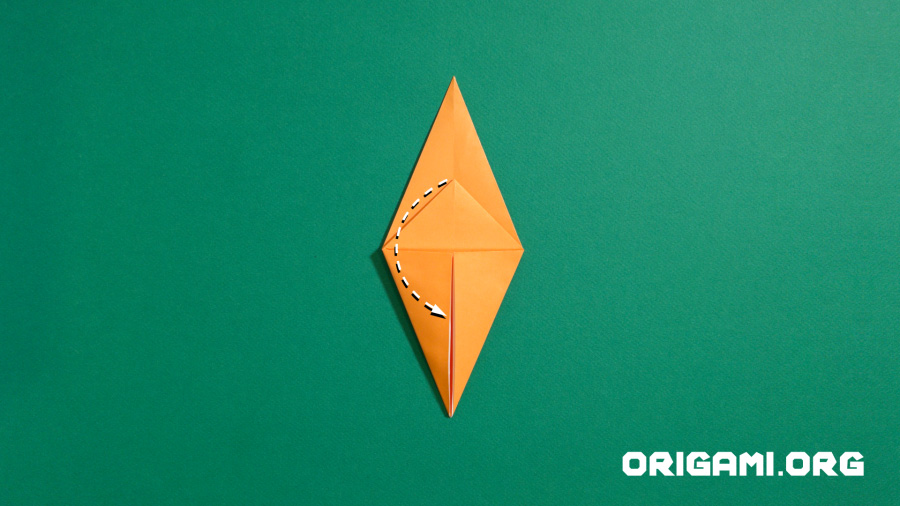
Step 28: Fold the inner point downwards
Step 29: It should now look like this
Step 30: Open up the folds as shown